Table of Contents
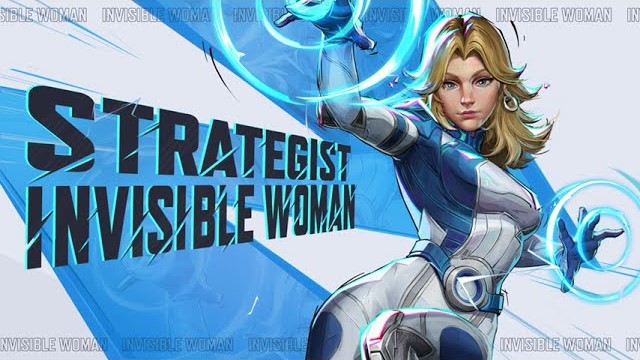
Invisible Woman is the latest Strategist added to Marvel Rivals, and is arguably one of the best Strategists in the game. Her healing and damage output make her extremely effective, and her ability set makes her versatile in a number of situations. In this guide, I will first cover how to use the character at a basic level. If you already know the basics of the character, skip to the next section where I will cover some advanced tips and tricks to help you elevate your skills. Finally, I will break down the character's best team ups and worst counters.
My Credentials
I am a Celestial player who primarily plays Invisible Woman as a main. I also main Peni Parker for a Vanguard and Squirrel Girl for a Duelist. I also study top level streamers, tournaments, and data published by first and third party sources to help deliver the most accurate information I can.
Basic Ability Guide (For Beginners)
Invisible Woman is primarily a healer, but she offers a strong ability set that makes her versatile. Her primary attack fires a healing bolt that acts like a boomerang. It has a maximum distance it can travel before it loops back and returns to you. Any ally in its path will be healed on both the forward and return trajectory of the shot. Opponents who are hit by the bolt are damaged as well. What sets Invisible Woman apart from other healers is her shots pass through teammates AND enemies. So if you have an enemy attacking your teammate, you can simultaneously heal your teammate and attack the opponent if they are close together.
As a secondary healing ability, she offers a protective shield you can place on allies. On activation, the ally you target will get a shield that blocks all incoming damage for up to 250hp while healing any ally standing behind it. As long as the shield has health, you can replace it at anytime without cooldown. You can press F to recall the shield, where it will go into cooldown with length based on how much hp was missing.
She has two primary offensive abilities to utilize: Force Physics and Psionic Vortex. The force ability lets you push or pull opponents that are at a medium or closer distance to you. It not only repositions them, but also does 55 damage. You can push or pull multiple targets, so you don't have to aim at any specific character. Psionic Vortex launches a orb that creates a damaging field on impact (or if you activate the ability again to detonate it). It does 35 damage per second and slowly pulls opponents toward the center of the orb. It has a preset 4 second duration and can't be removed, so launching it into a group of opponents will maximize the effectiveness.
Invisible Woman can also, believe it or not, go invisible! You can double jump to go invisible or avoid taking damage and doing attacks to passively go invisible. In this state, opponents cannot see you, but they can make you visible again if you take damage or use an attack or ability. While invisible, you will also heal yourself for 20 hp per second. The healing and invisibility can make you very difficult to kill, which means you can reposition yourself in a less dangerous location.
Her ultimate ability raises a large shield that rapidly heals allies and slows down enemies. any player inside the radius also becomes invisible to anyone outside of the radius, regardless of which team you are on. It lasts for 8 seconds, but has a fairly fast recharge rate.
How to Play Invisible Woman
Invisible Woman is a bit different than other healers. Her limited range means you need to he a bit close to the action. Ideally, you want to position yourself fairly close to your tanks to ensure you can keep heals on them constantly. Do not get in front of your team though! Use your shield as an emergency health boost, or give it to an ally that you can't afford to monitor constantly. If you start getting pressured, simply double jump backwards to go invisible and allow yourself plenty if space to reposition without getting hit.
Since you want to be fairly close to the action, you should help using your Vortex frequently. It gives you a way to do constant damage while you heal. It's perfect as well for forcing an opponent away from a spot they have locked down. If you see an enemy is about to run away from your team, use that force pull to bring them close to help your team finish them off. Often times you will find the damage from the force push / pull is enough to kill a fleeing enemy! The same goes if your ally is getting too much pressure: push the enemy away so your teammate can retreat easier while you heal them.
If the enemy team is running divers like Venom, Spider-Man, or Iron Fist, keep your force ability on stand by. You can use it to save an teammate who is under pressure, or simply get them off of you quickly. You can also melee 3 times, and the third hit will push opponents back. This is much easier said than done, so don't bank on it saving your life.
The golden rule for Invisible Woman is to remember you are a healer, NOT a dps! It can be fun to chase an opponent down while you are invisible, but you don't have enough damage output to win most matchups. Furthermore, your team will suffer more without a healer than they will with that dps player still alive. That doesn't mean you can't step away for 3 seconds to confirm a kill. It just means you should be back to healing your team as quickly as possible.
Tips and Tricks for Gameplay
The force push and pull is probably her best ability. You can use it to push opponent's off the map for kills, pull them away from healers and into danger, push them off an objective, or prevent a fleeing opponent from escaping! The 55 damage it gives is a great finisher as well, especially on opponents who can be very evasive when at low hp. You do need to be careful not to push or pull opponents that your team are about to kill. Moving them can make them miss or lose track of the opponent which can sometimes lead to them escaping.
The Psionic Vortex can knock flying characters out of the sky. If you hit them in the air at their feet (or manually detonate under them), the pull from the orb's center will quickly drag them downward while dealing a solid amount of damage.
The Vortex can also block or remove deployables like Punisher's Turret, Namor's squids, or Peni's Mines and Spider-Nest. It may not be able 100% destroy a turret on its own, but it can weaken it enough that an ally an easy finish it off.
Get into a good habit of saving your double jump for when you are being flanked or an ultimate is triggering. Use it to jump backwards or towards cover so that you can heal and quickly return to your team. If you over use it to move around faster, you will often find yourself in a pinch with no way to escape. A healer that is missing for 5 seconds is much better than a dead healer.
Her ultimate ability will rapidly heal, but it does NOT make you invincible. If opponents target you or hit you with a high damage ultimate, you can still be killed. If you die, your shield will instantly drop regardless of how long it has been active. If you hear Iron Man or Magneto start to ult, double jump out of the circle so they can't see you.
Pay attention to the status of the ultimate status of your other healers. When your team needs a healing ultimate, you don't want to double ult with your teammate. If you both have it ready to use, try to use the "ultimate status" quick chat to notify your team that it's ready and you are prepared to use it. You can also quickly type to your team that you will ult first (or second) to ensure nothing is wasted.
At the start of a match where you are defending, you can use your double jump during the prep phase to quickly make your way to the enemy spawn. Right as the spawn doors open, you can launch your Vortex at the door of their spawn and quickly retreat with a double jump back to your team. While the orb won't kill anyone, it will get you a head start on building your ultimate by about 5% on average. If you use voice chat, you can also communicate to the team which characters they picked. If opponents start the match with a Doctor Strange portal, the orb can give you extra value if you manage to target the strange while he is placing the portal (and also give your team information that he is portaling).
Utilize the healing shield as much as you can. You can continuously place the shield over allies that are moving while you are using your primary fire to give them extra health and block some incoming damage.
As soon as combat has paused, retrieve your shield and let it recharge. A near-broken shield will quickly become useless in combat and leave you missing a huge utility.
The healing shield can be placed on a flying character to give them healing and protection. This can let you focus on the ground team without needing to constantly look up and respond to "Need Healing" requests. The flying character can use the shield like a recharge station and return to it once they take damage if you allow it to stay there.
If you are low hp or are under fire, but can't afford to jump away to self-heal, place your shield on a nearby ally. While you can't place the shield on yourself, placing it on an ally allows you to move behind it and heal yourself. Even if they are using it for health, you both can use it to recharge at the same time!
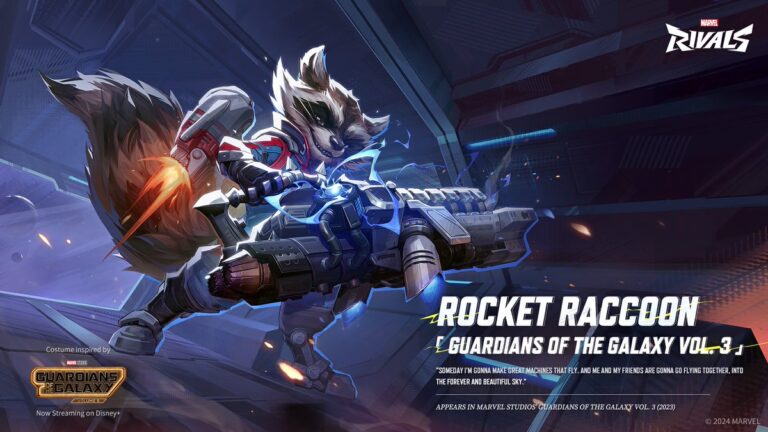
Be on the lookout for opponent's like Moon Knight who hide up on balconies. You can use your force pull to rip them down from the ledge into an unfavorable position, causing them to retreat or die. The same applies if you see a healer like Rocket Raccoon or Loki that can be pulled off their healing perch.
Your force push can be used to dodge ultimate abilities. If you see Doctor Strange dropping in to ult, use your push to knock him away quickly before the animation triggers and it can severely lower the effectiveness. The same applies for characters like Spider-Man, Peni Parker, Bruce Banner, or Magik.
Pros & Cons
Pros:
- Flexible in healing and damage output
- Great at healing multiple targets at once
- Crowd control abilities
- Strong ultimate
- Very evasive and difficult to kill
- Great for teams that move as a unit and don't split up
- Best option to heal flying characters
Cons:
- Low range on primary fire
- Must be close to fights to heal, putting you into more danger
- Low DPS attacks that make it difficult to win 1v1 fights
- Hard to heal diving allies since you lack range
Matchups
| Good | Bad |
|---|---|
Vortex the mines and nest | Splash Damage |
| Divers You are too evasive to easily kill | Splash Damage |
Invisibility dodges her ult | Blocks healing |
Force Push saves you and allies | Turrets quickly spot you when visible |