Table of Contents
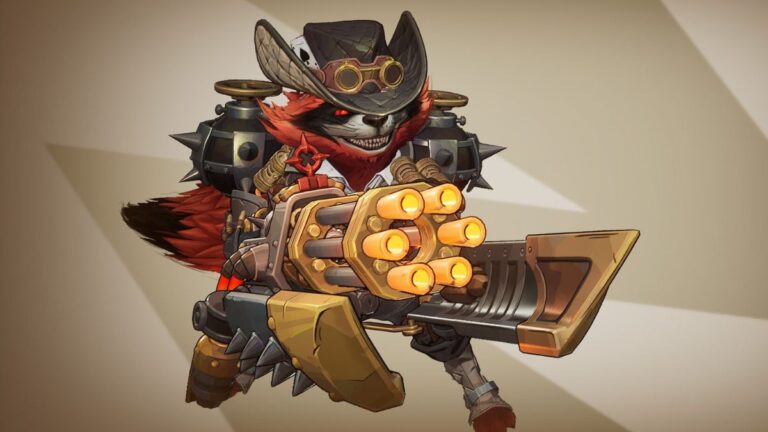
Rocket Raccoon is one of the highest win rate strategists in Marvel Rivals. His ability to heal from long distances, having a revive station, and evasiveness make him a very strong pick. In this guide, I will first cover how to use the character at a basic level. If you already know the basics of the character, skip to the next section where I will cover some advanced tips and tricks to help you elevate your skills. Finally, I will break down the character's best team ups and worst counters.
My Credentials
I am a Celestial player who primarily plays Invisible Woman as a main. I also main Peni Parker for a Vanguard and Squirrel Girl for a Duelist. I also study top level streamers, tournaments, and data published by first and third party sources to help deliver the most accurate information I can.
Basic Ability Guide (For Beginners)
Rocket is a simple but effective healer. His ability set is focused around utility, rather than direct offensive or defensive abilities like other healers. More often than not, you will be running away from combat situations, which also is different from the other healers.
His primary healing is actually his alternate fire. It shoots slow moving healing orbs that will pass through players, but bounce on objects up to 10 times. The orbs will fly through the air for a maximum of 5 seconds before disappearing. If an orb gets near an ally, it slows down to more effectively heal. For most Rocket players, this is what you will be using for 95% of every game.
His primary fire is a machine gun that has separate ammo from your healing orbs. It can shoot about 12 bullets a second at 16 damage each at close range (so about 192 damage per second). It's a very effective weapon, so despite popular belief, you do actually want to use it from time to time.
His utility abilities come in the form of two jetpack dashes. These will be primarily used as an escape tool to dodge divers. You can use it to climb ledges to sit on, but there isn't much need. Rocket has a passive ability that lets him run up walls, so you can climb ledges instead of wasting a jetpack charge. He also has a second passive ability that lets him slowly jetpack down instead of falling. This works as a way to stay in the air if you dash upwards.
His second ability is his revive station. This will revive the first teammate to die within a 50 meter radius of the station. They revive at full health with no respawn countdown. Not only does the station revive, it will shoot out armor packs and jetpack charges every 3 seconds. Once the station revives someone (or is destroyed), any packs on the ground will instantly disappear.
For his ultimate ability, you deploy an amplifier that gives your team a 10% damage boost, as well as 100 bonus health every second. It's a weaker healing ult, but the small damage boost is great for giving your team an edge in combat. It is an actual deployable, so opponents can shoot it down and stop the ult. It has 800 hp though, so it takes a good bit of effort to take it down.
How to Play
Rocket lives in the backline. So much so, you can often play from way behind the normal healer backline. Since his healing can be shot from such long distances, you can sit safely away from the battle. You can often position yourself on high ground, making it very difficult for divers to find you.
If you get spotted, you will need to decide on fight or flight. If it's an opponent that will be tough to kill, or you have very low health, you should jetpack away and heal yourself until you escape. If you can kill them, focus on headshots and take them down as quickly as possible. Don't worry about healing until they are down, or you need to escape.
Make sure your revive station is deployed at all times. You want to keep it close to your objective, but in a discreet location to avoid being destroyed. Holding onto it just means you are wasting potential revives that could keep your push or defense going. The moment it recharges after a use, place a new one down as soon as possible.
Your ultimate is a soft counter to damage ults. It won't protect the team against ults from characters like Magneto, Iron Man, or Scarlet Witch, but it will keep the team alive for most others. You want to save it until you hear one of those damage ults trigger, like hearing Star-Lord scream "LEGENDARY!". You may also want to use the ult when your team is grouped together and are making a hard push on the objective. Making them hard to kill should help your team secure the objective.
Tips and Tricks for Gameplay
While it is a popular strategy, please do not be a Rocket heal bot. By heal bot, I mean you stay way in the back and exclusively heal, never shooting (aka no damage Rocket). If an opponent pressures you, you always run. What you should do instead is mix a moderate amount of gunplay in with your healing. Don't be afraid to be a bit closer to the action. Your weapon can help finish off low health opponents. In my experience, if one team has a heal bot Rocket, and the other team has a Rocket that utilizes his weapon, the damage Rocket's team always wins. If his weapon's strength is questionable to you, see the next tip:
Rocket's weapon can rapidly kill tanks like Thor or Groot. His damage and shot speed is so high, you can often win a 1v1 if you are landing some critical hits (headshots). For context, his weapon does more damage per second than The Punisher at close range! So you can easily take down opponents if you need to, or help your team lock in kills on opponents pressuring them or trying to flee.
Rocket's healing orbs heal 50 hp instantly, plus extra health over time. Each time an orb bounces, that instant 50 hp resets! This means if you can bounce an orb at your team's feet, they will get 100 hp instantly for each orb! That's a substantial amount of healing per shot, so try to bounce your shots around teammates as much as possible to maximize your healing output.
Anytime your team is waiting for the doors to open at the start of a match, throw down your revive station. It will give you and the team Armor packs and jump packs then can use going into battle. Once the doors open, pick up the revive station so you can redeploy it at the objective (it only has a 5 second recharge if you pick it up).
If you don't want to use Rocket in a match, you can actually still get value from his revive station! Pick Rocket at match start and throw the revive station. Right as the doors open, swap to the character you want to play. Even though nobody is playing Rocket now, your team gets to keep their armor and jump packs after you swap characters!
Your healing heals multiple allies at a time, so try to position yourself where the team is mostly in the same path. This should let you shoot a single healing orb and get significantly more value than if it just passed by a single ally.
When healing, try not to just stand in place. Pace around, jump, or simply strafe side to side. Even though you aren't under fire, you don't want to give divers or snipers a chance to one shot you. A diver like Black Panther or Spider-Man would love for you to sit still so they land their combo perfectly.
If you have Punisher on your team, you get a new deployable that gives him unlimited ammo and rapid fire. It's an incredible team-up, but your team can only use it in a small radius you deploy it at. What I'm getting at is be careful where you throw it down. Placing it too far back from the action makes it useless. Placing it too far forward puts them in more danger than necessary.
Pros & Cons
Pros:
- Very hard to kill
- Long range healing
- Easy to go unnoticed
- Revive station
- Multiple strong team-ups
Cons:
- Can't heal and attack, making you very binary
- No healing ultimate to save the team
- No long range attacks
Matchups
| Good | Bad |
|---|---|
Loading...
If you see this for too long, please disable AdBlock and try to reload the page...
Struggles to kill you, but you can kill him with crits | Loading...
If you see this for too long, please disable AdBlock and try to reload the page...
Mines can quickly kill you, web snare can keep you from escaping danger |
| Flying Allies Very easy for you to heal them compared to other healers | Divers You aren't safe being alone in the backline |
Loading...
If you see this for too long, please disable AdBlock and try to reload the page...
He can't pull you away, you can still heal allies he pulls away | Loading...
If you see this for too long, please disable AdBlock and try to reload the page...
Anhk and ult will quickly kill you with no needed accuracy |
Loading...
If you see this for too long, please disable AdBlock and try to reload the page...
Hard to hit you, and easy to escape if she does land a hit. | Loading...
If you see this for too long, please disable AdBlock and try to reload the page...
Walls will completely block healing orbs |
Settings
For a more detailed guide on the optimal settings for Rocket Raccoon, check out this guide: