Table of Contents
Welcome to our guide to the Marvel Rivals Map - Hydra Charteris Base: Hell's Heaven! Here, we will explain the layout of the Map, and learn about each section so you can take advantage to defeat your enemies.
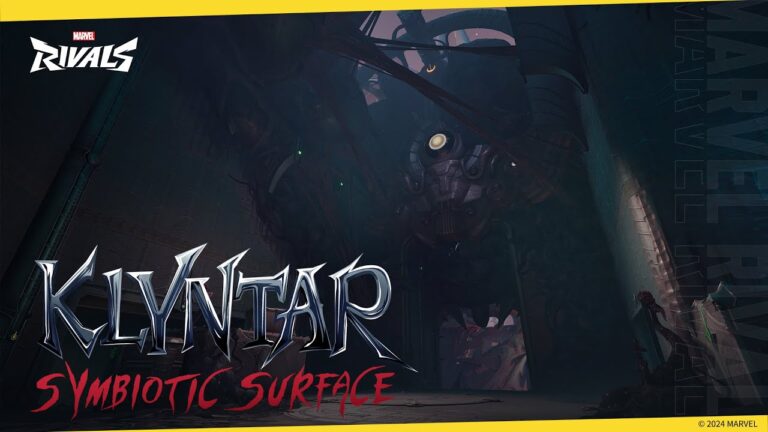
Battered into dormancy for decades, Hydra has hidden its dark ambitions behind the chaos of the times… but as time falls apart, that chaos will usher in a new era for the evil organization…
Beneath Charteris Base in Antarctica, Hydra has reawakened a gateway to its otherworldly deity, and the key is the crystal formed from chronal energy. As the ancient Hive approaches from beyond, Hydra seeks to channel its power into a new army of super-soldiers.
As the ancient cult prepares to welcome all timelines to its alien chorus, are the heroes truly prepared to confront the many heads of Hydra?
Map Type: Domination
Hell's Haven is a domination style map that features 3 small maps. Each map may be themed the same, but they all play very different from one another. In this guide, each map will be analyzed to highlight potential routes you can use, along with some helpful tips and tricks. Since each map is a mirror image of one another, you will only see routes shown on one side for ease of viewing.
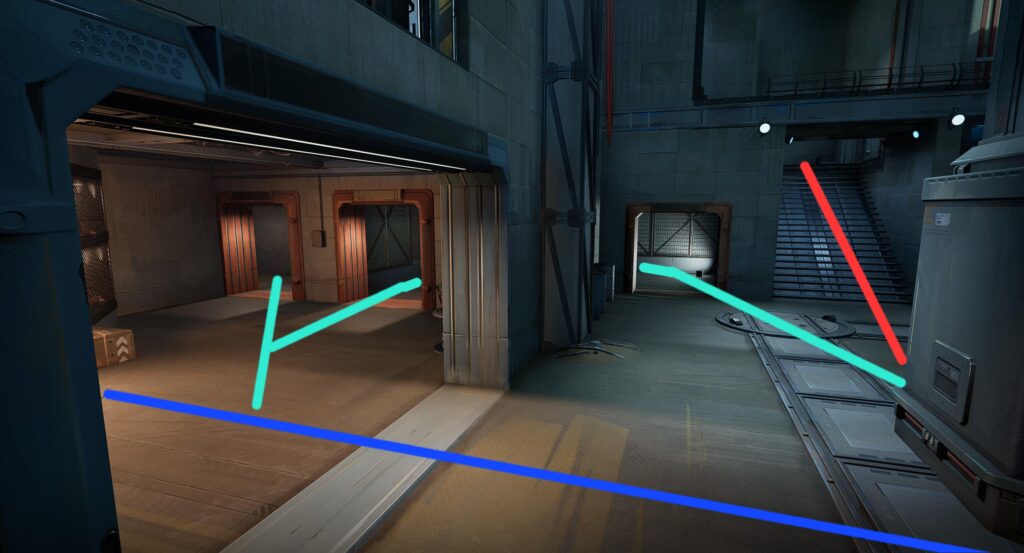
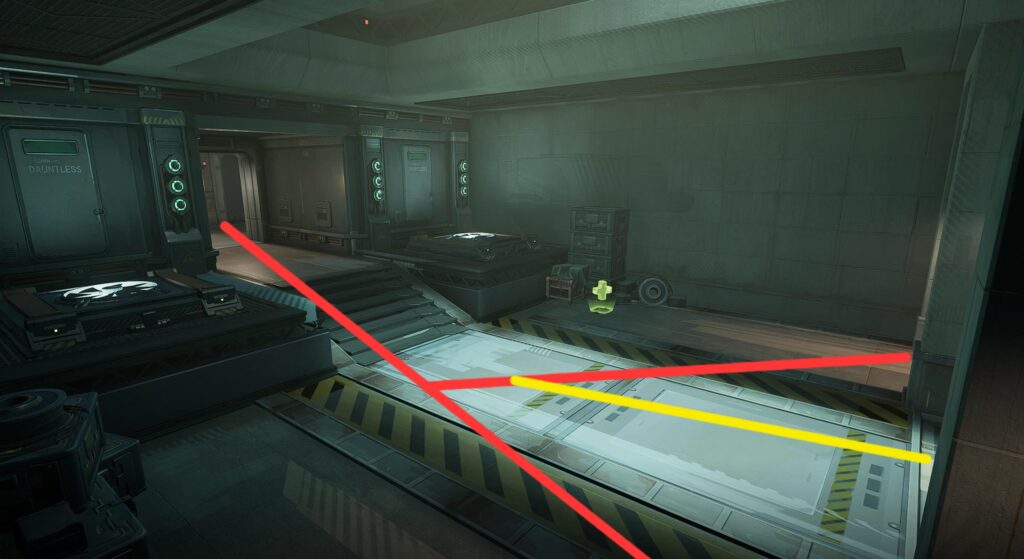
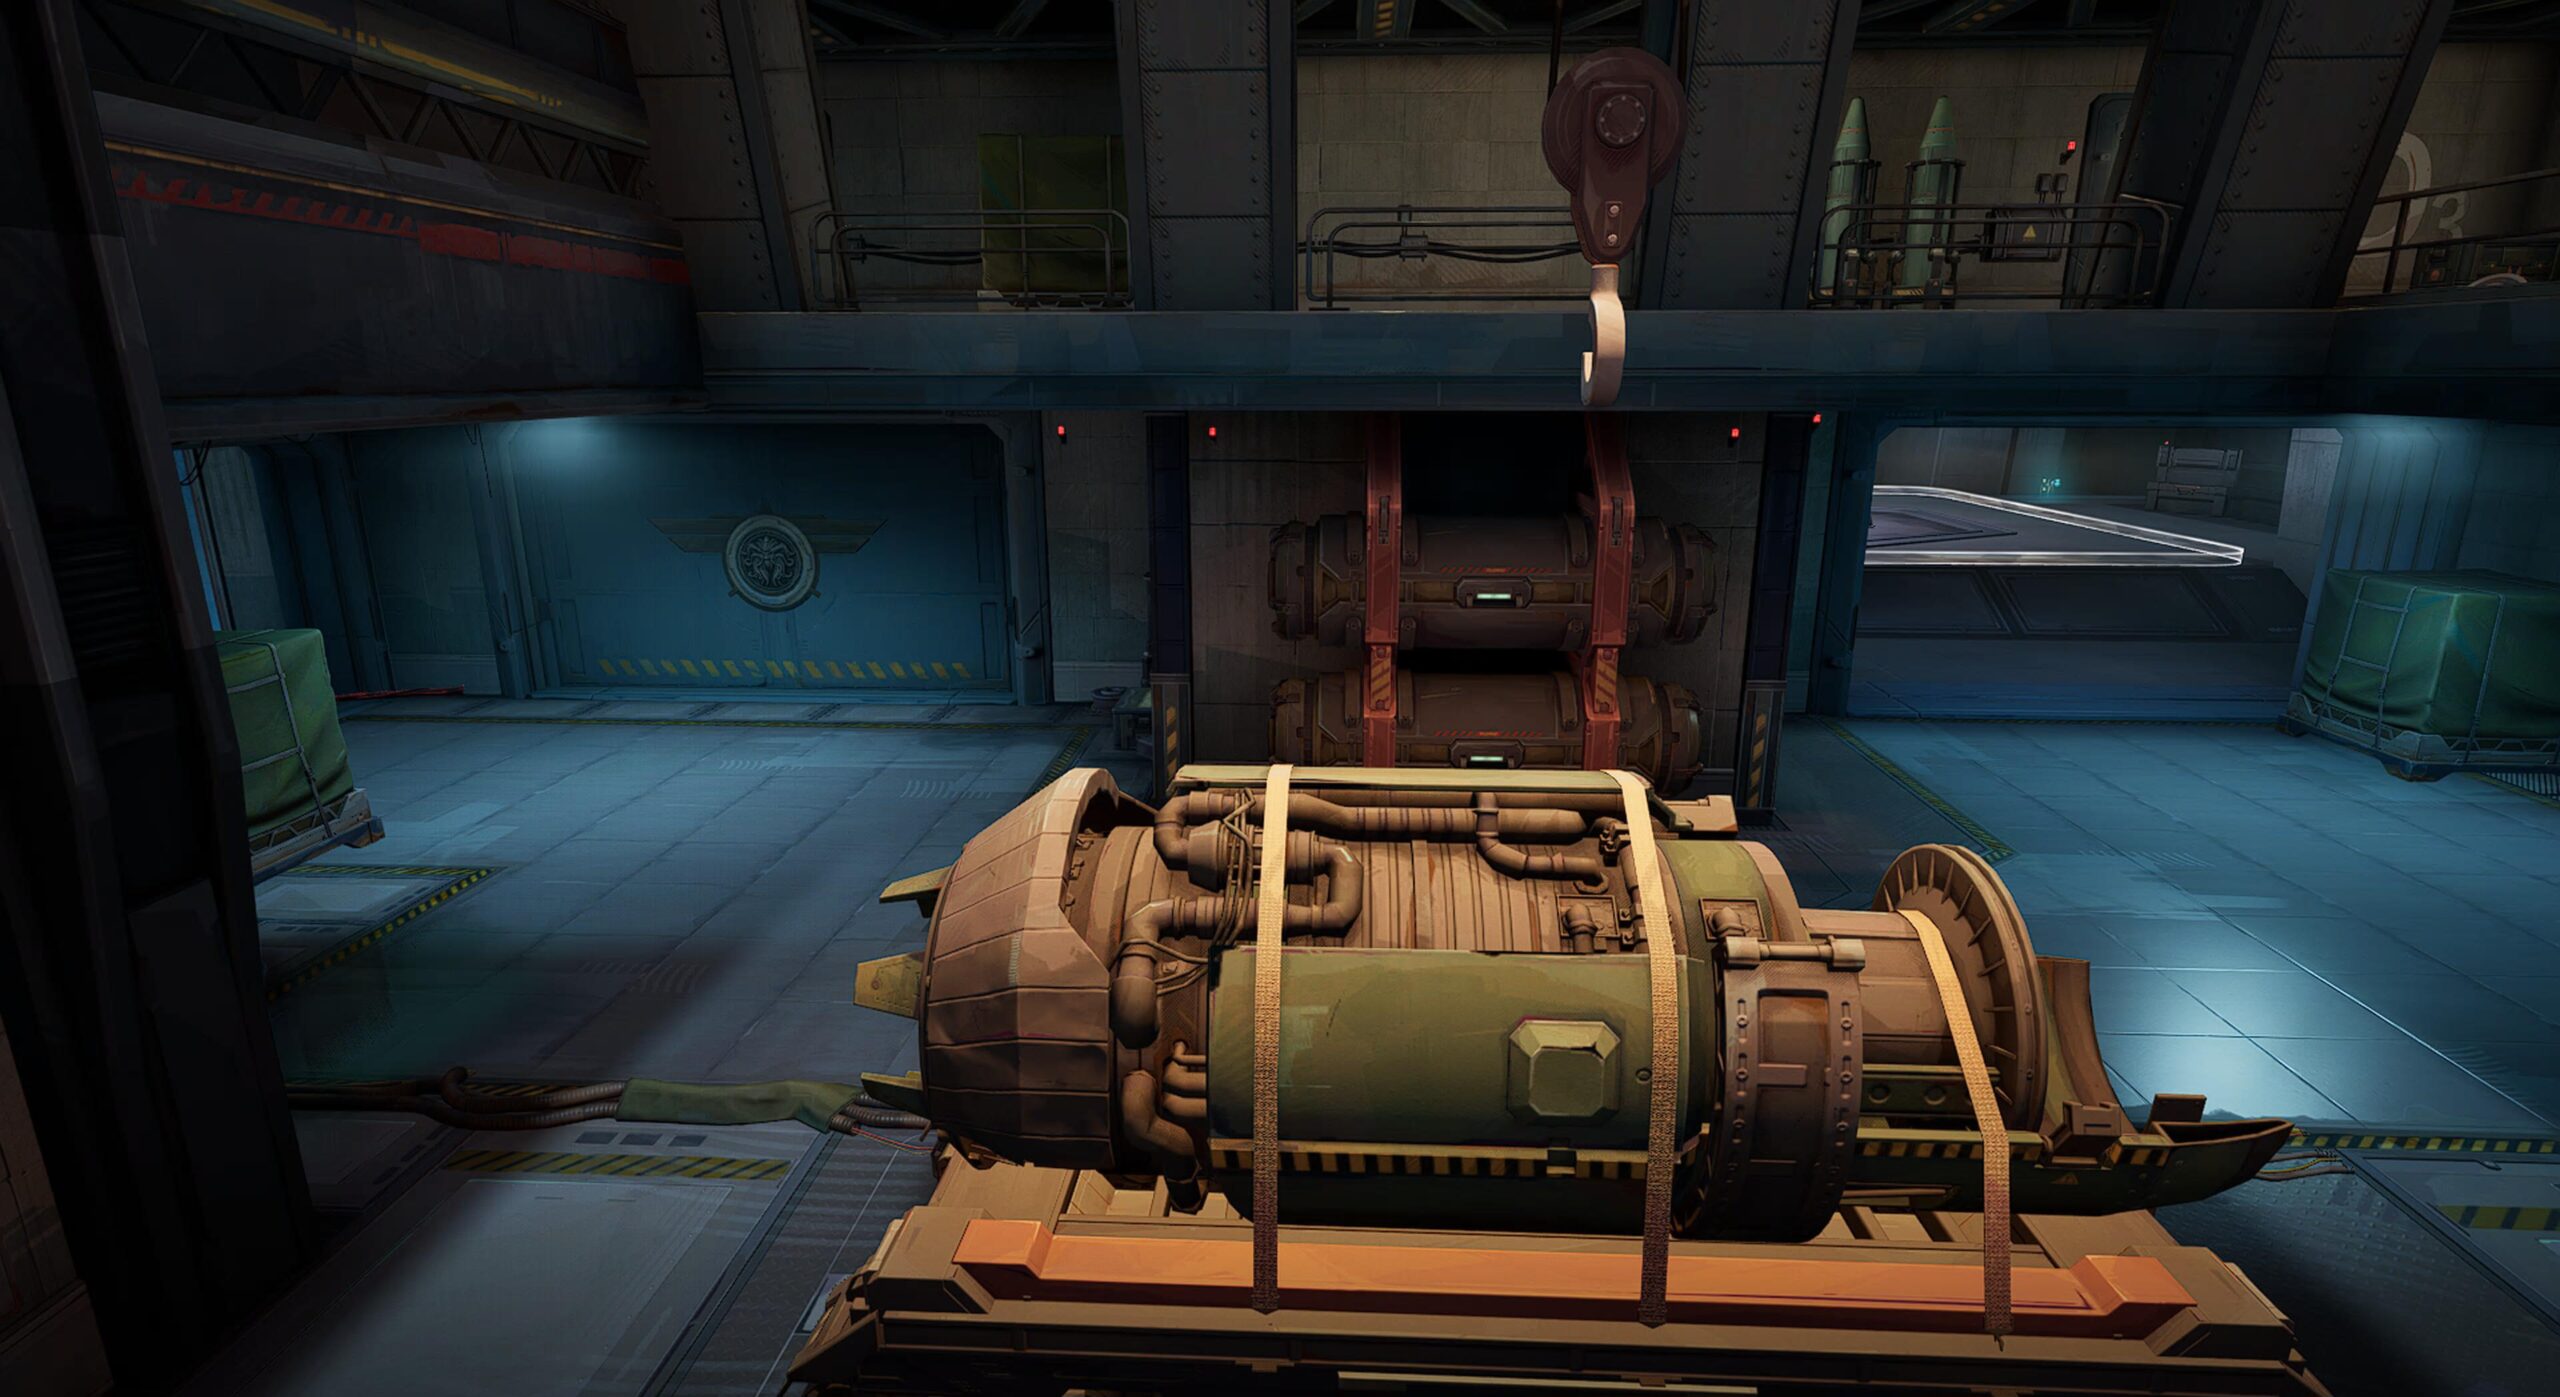
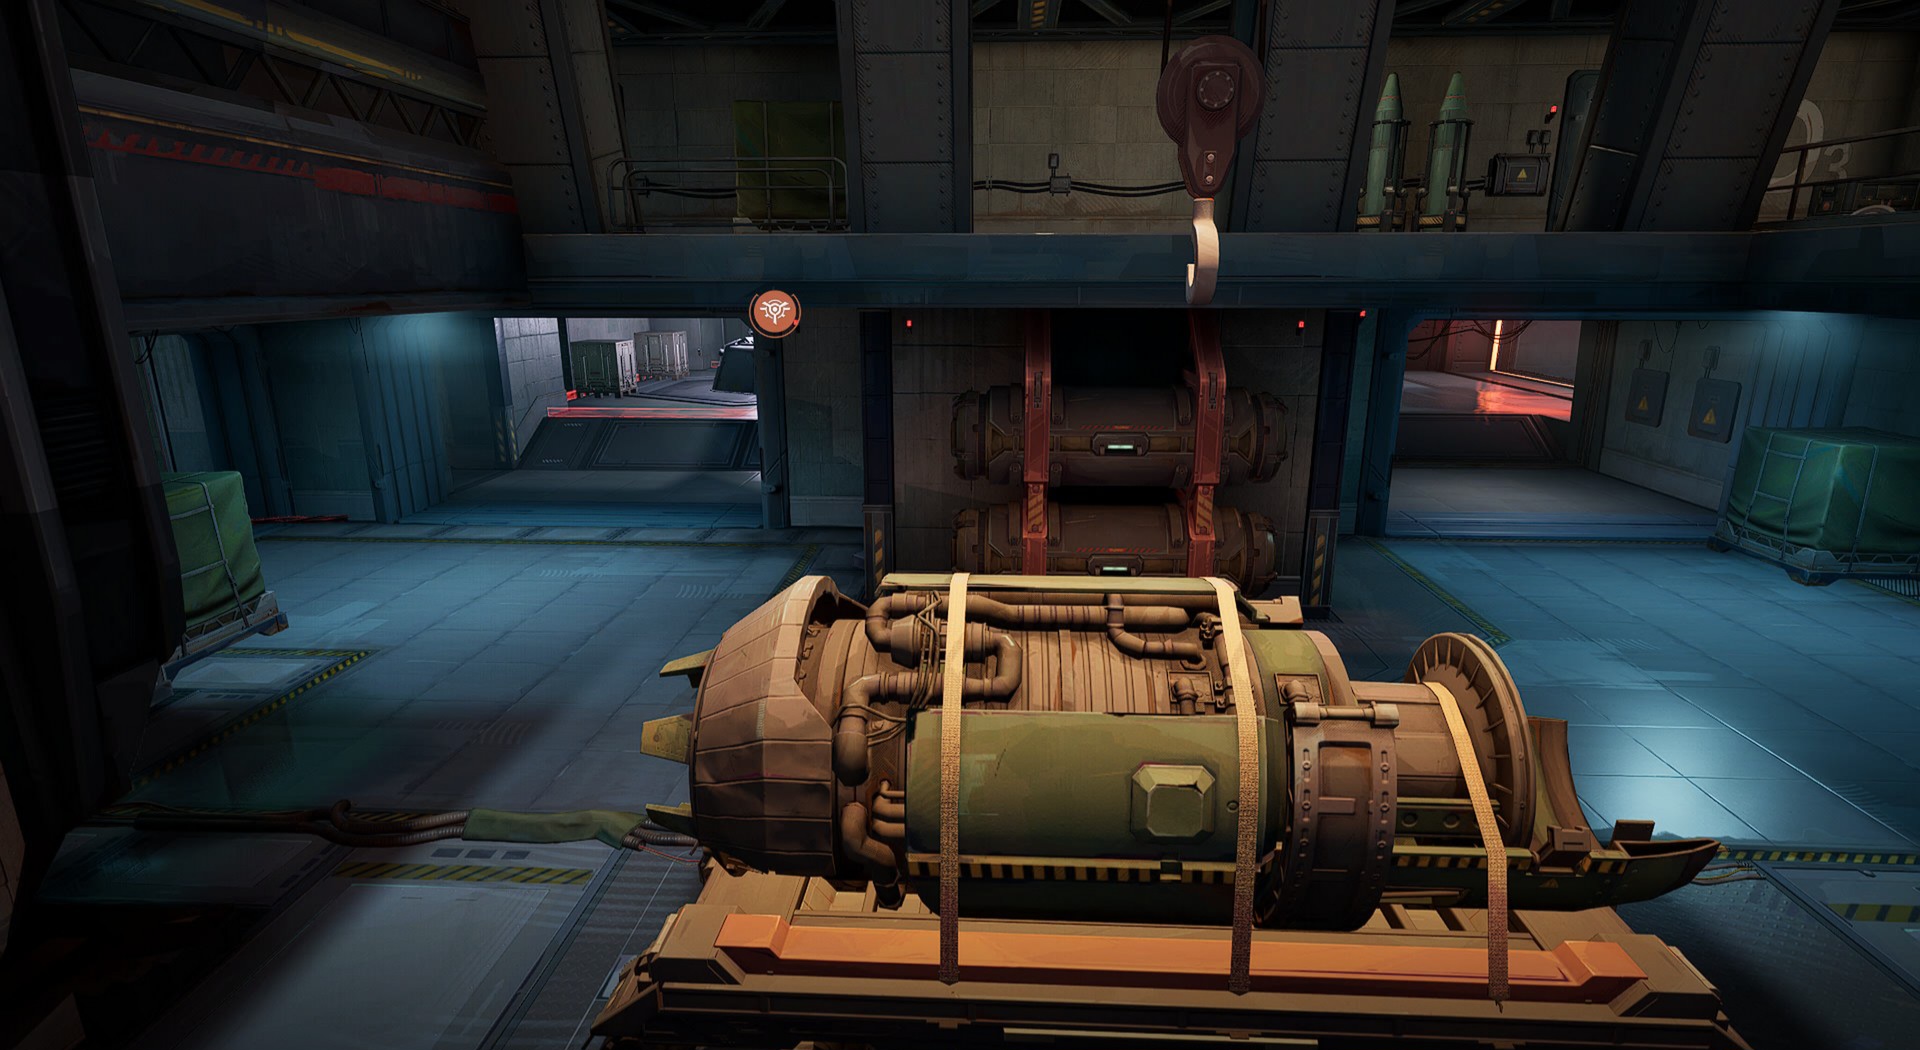
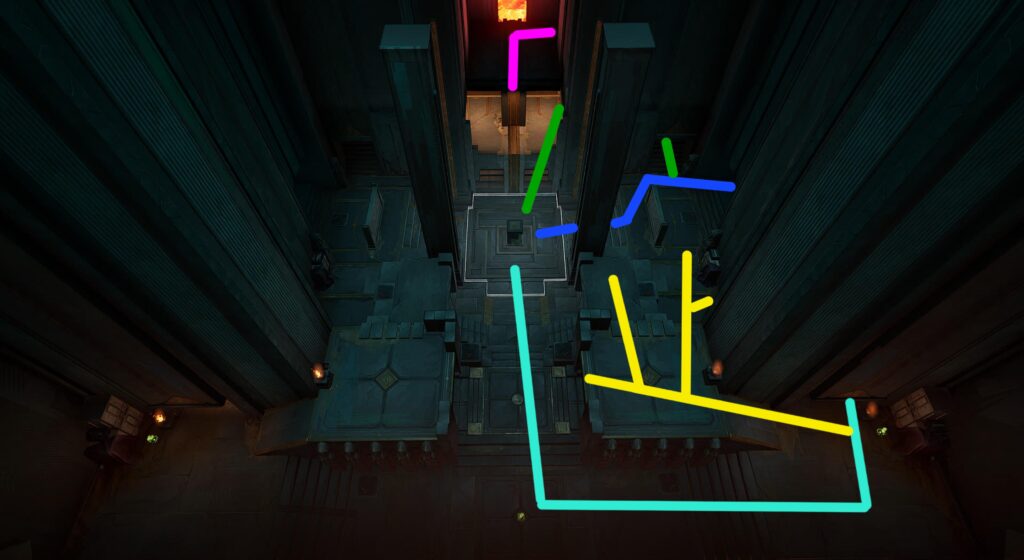
Map 1: Super-Soldier Factory
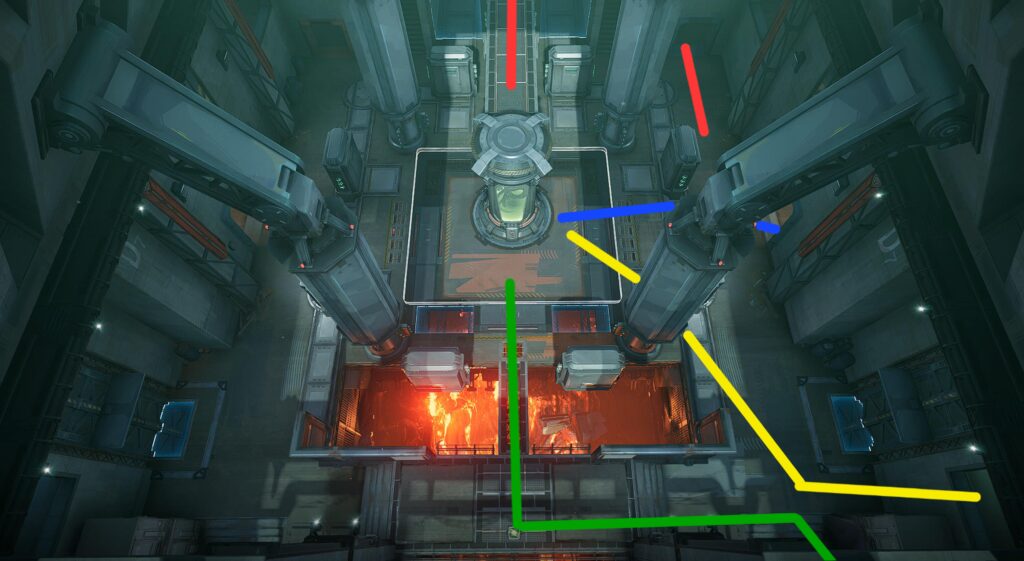
This map takes place in a room full of moving walls and a huge lava pit. Each color on this map represents a route you can take and will be consistent through each map. Here's some info about each route here:
- Blue: This is the basic route most players take by default.
- Red: The top route of the map that takes the high ground to approach the objective from an elevated position.
- Yellow: Similar to the previous route, but it moves upstairs on the bottom side of the map.
- Green: The very bottom route that stays on the lower floor. It gives you a more discreet flanking routes with a couple of branching options.
Leaving from the spawn, you have a range of paths to choose from. The only route not mentioned before is the teal path, which simply gives you alternate access into the next room.
Here's a better look at how that teal path can be utilized if you need that mixup option.
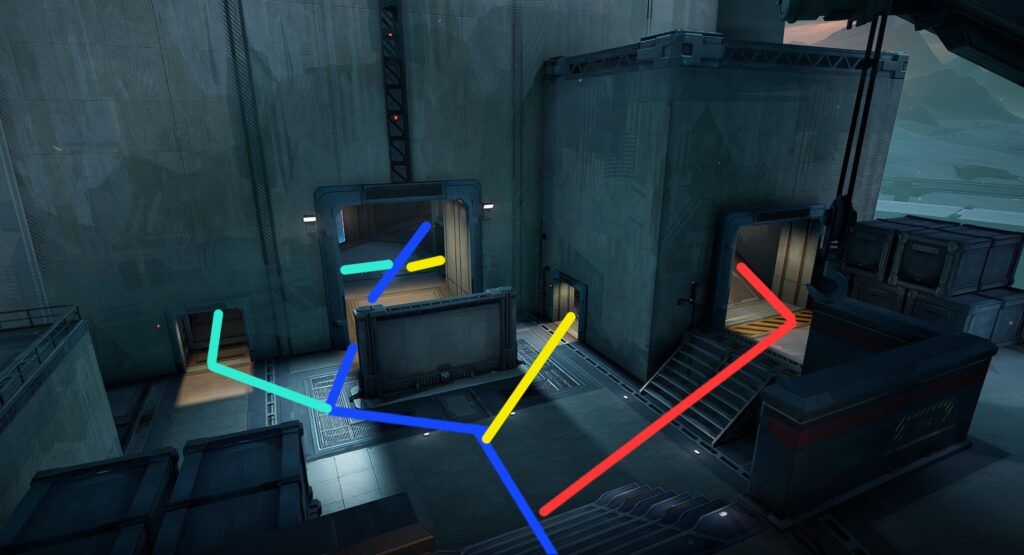
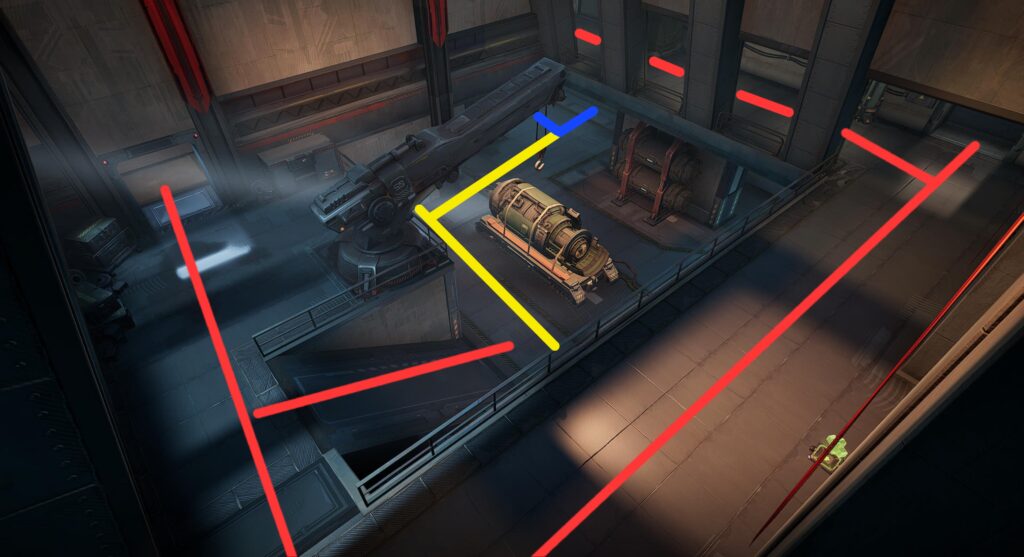
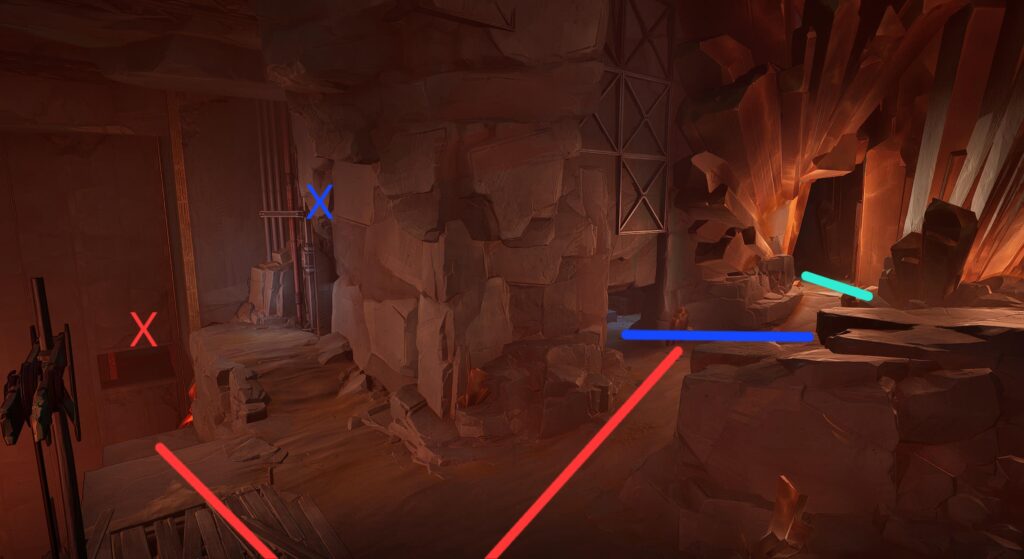
On the opposite side of the the same room, you can see where the yellow path moves up the stairs the the 2nd floor. The green route follows a similar path, but sticking to the bottom floor.
Both the yellow route and red route connect in this cooridor. There isn't much utility to the red route besides flanking, but yellow offers a couple of nice vantage points:
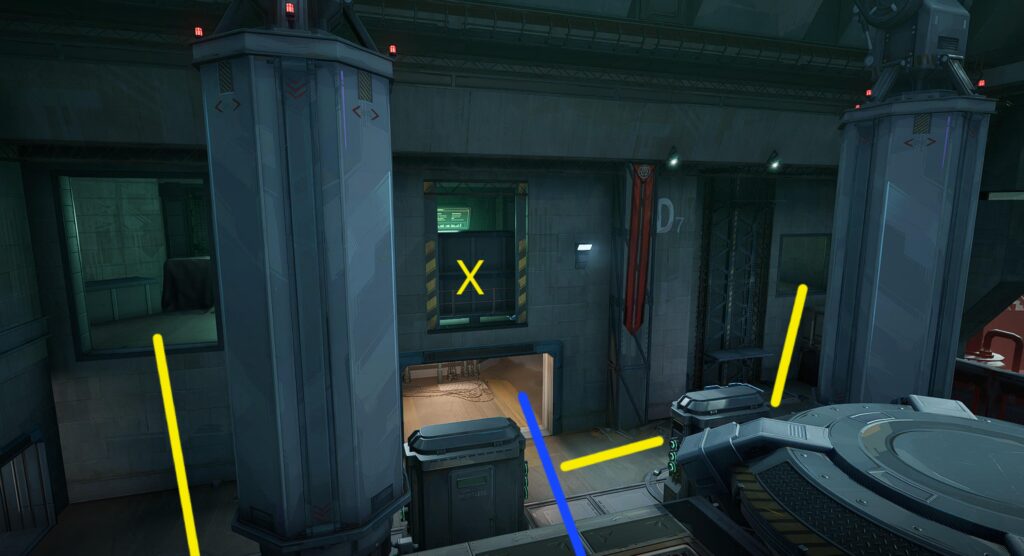
The Yellow route offers a vantage points on the left and side doors you see here. The X looks like a blocked opening, but the map will shift at different points which will move the box and let you post up in the doorway.
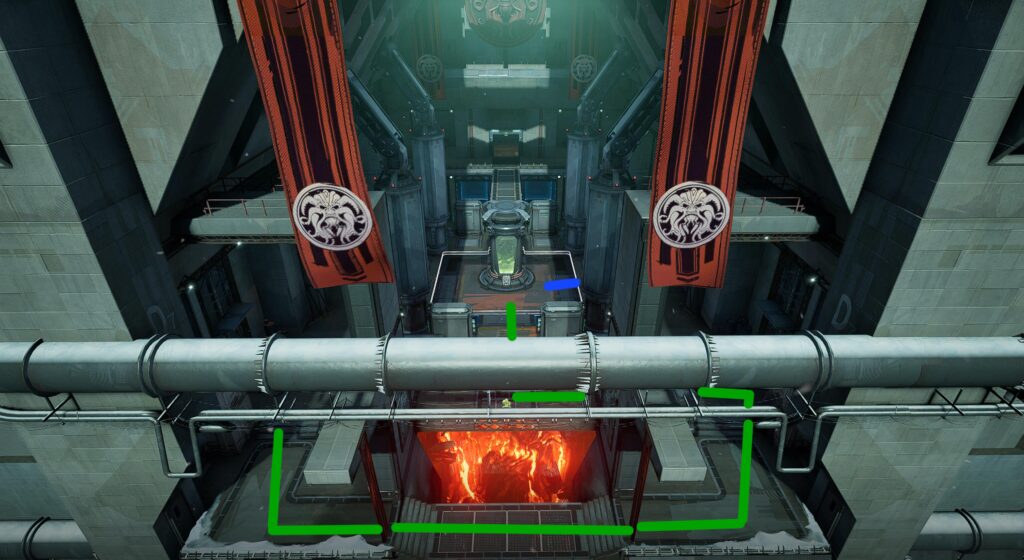
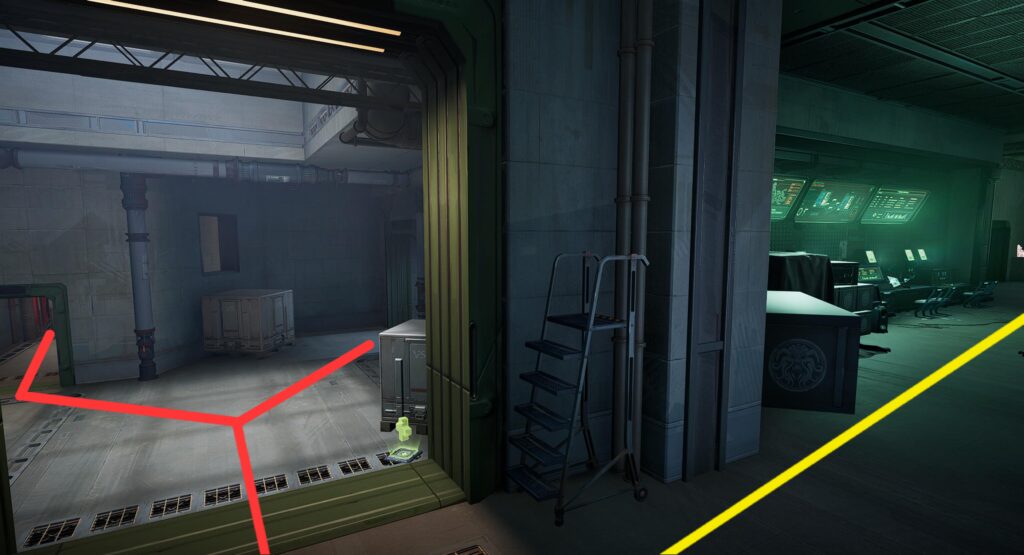
Moving on to the back green path, you have 2 options to flank around the back. One cuts directly to the objective via a small bridge. The other takes a wider flank to move behind your opponent. The pit of lava can be utilized to get kills if you have the right character. For example: Spider-Man can web pull opponents off the objective, and Invisible Woman can force push them off and into the lava.
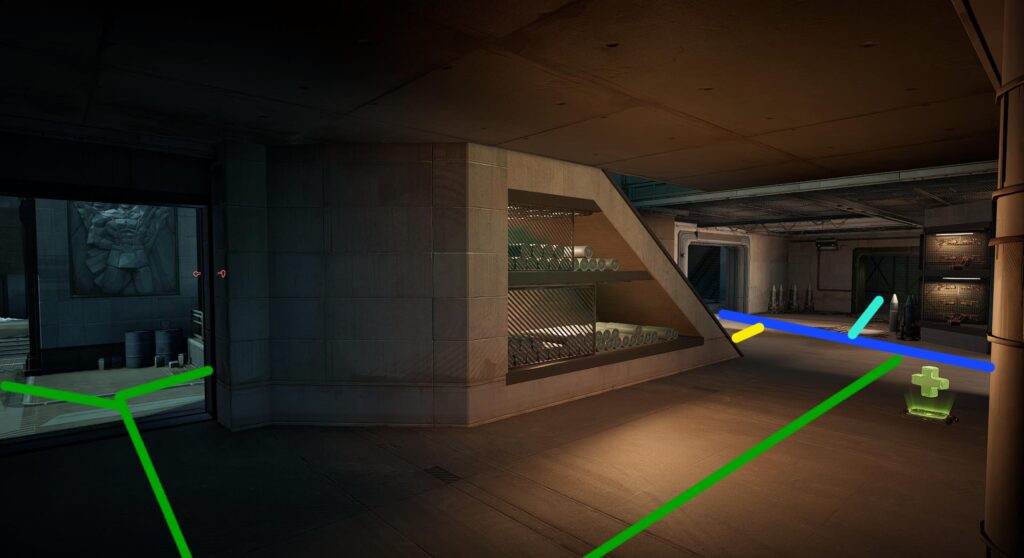
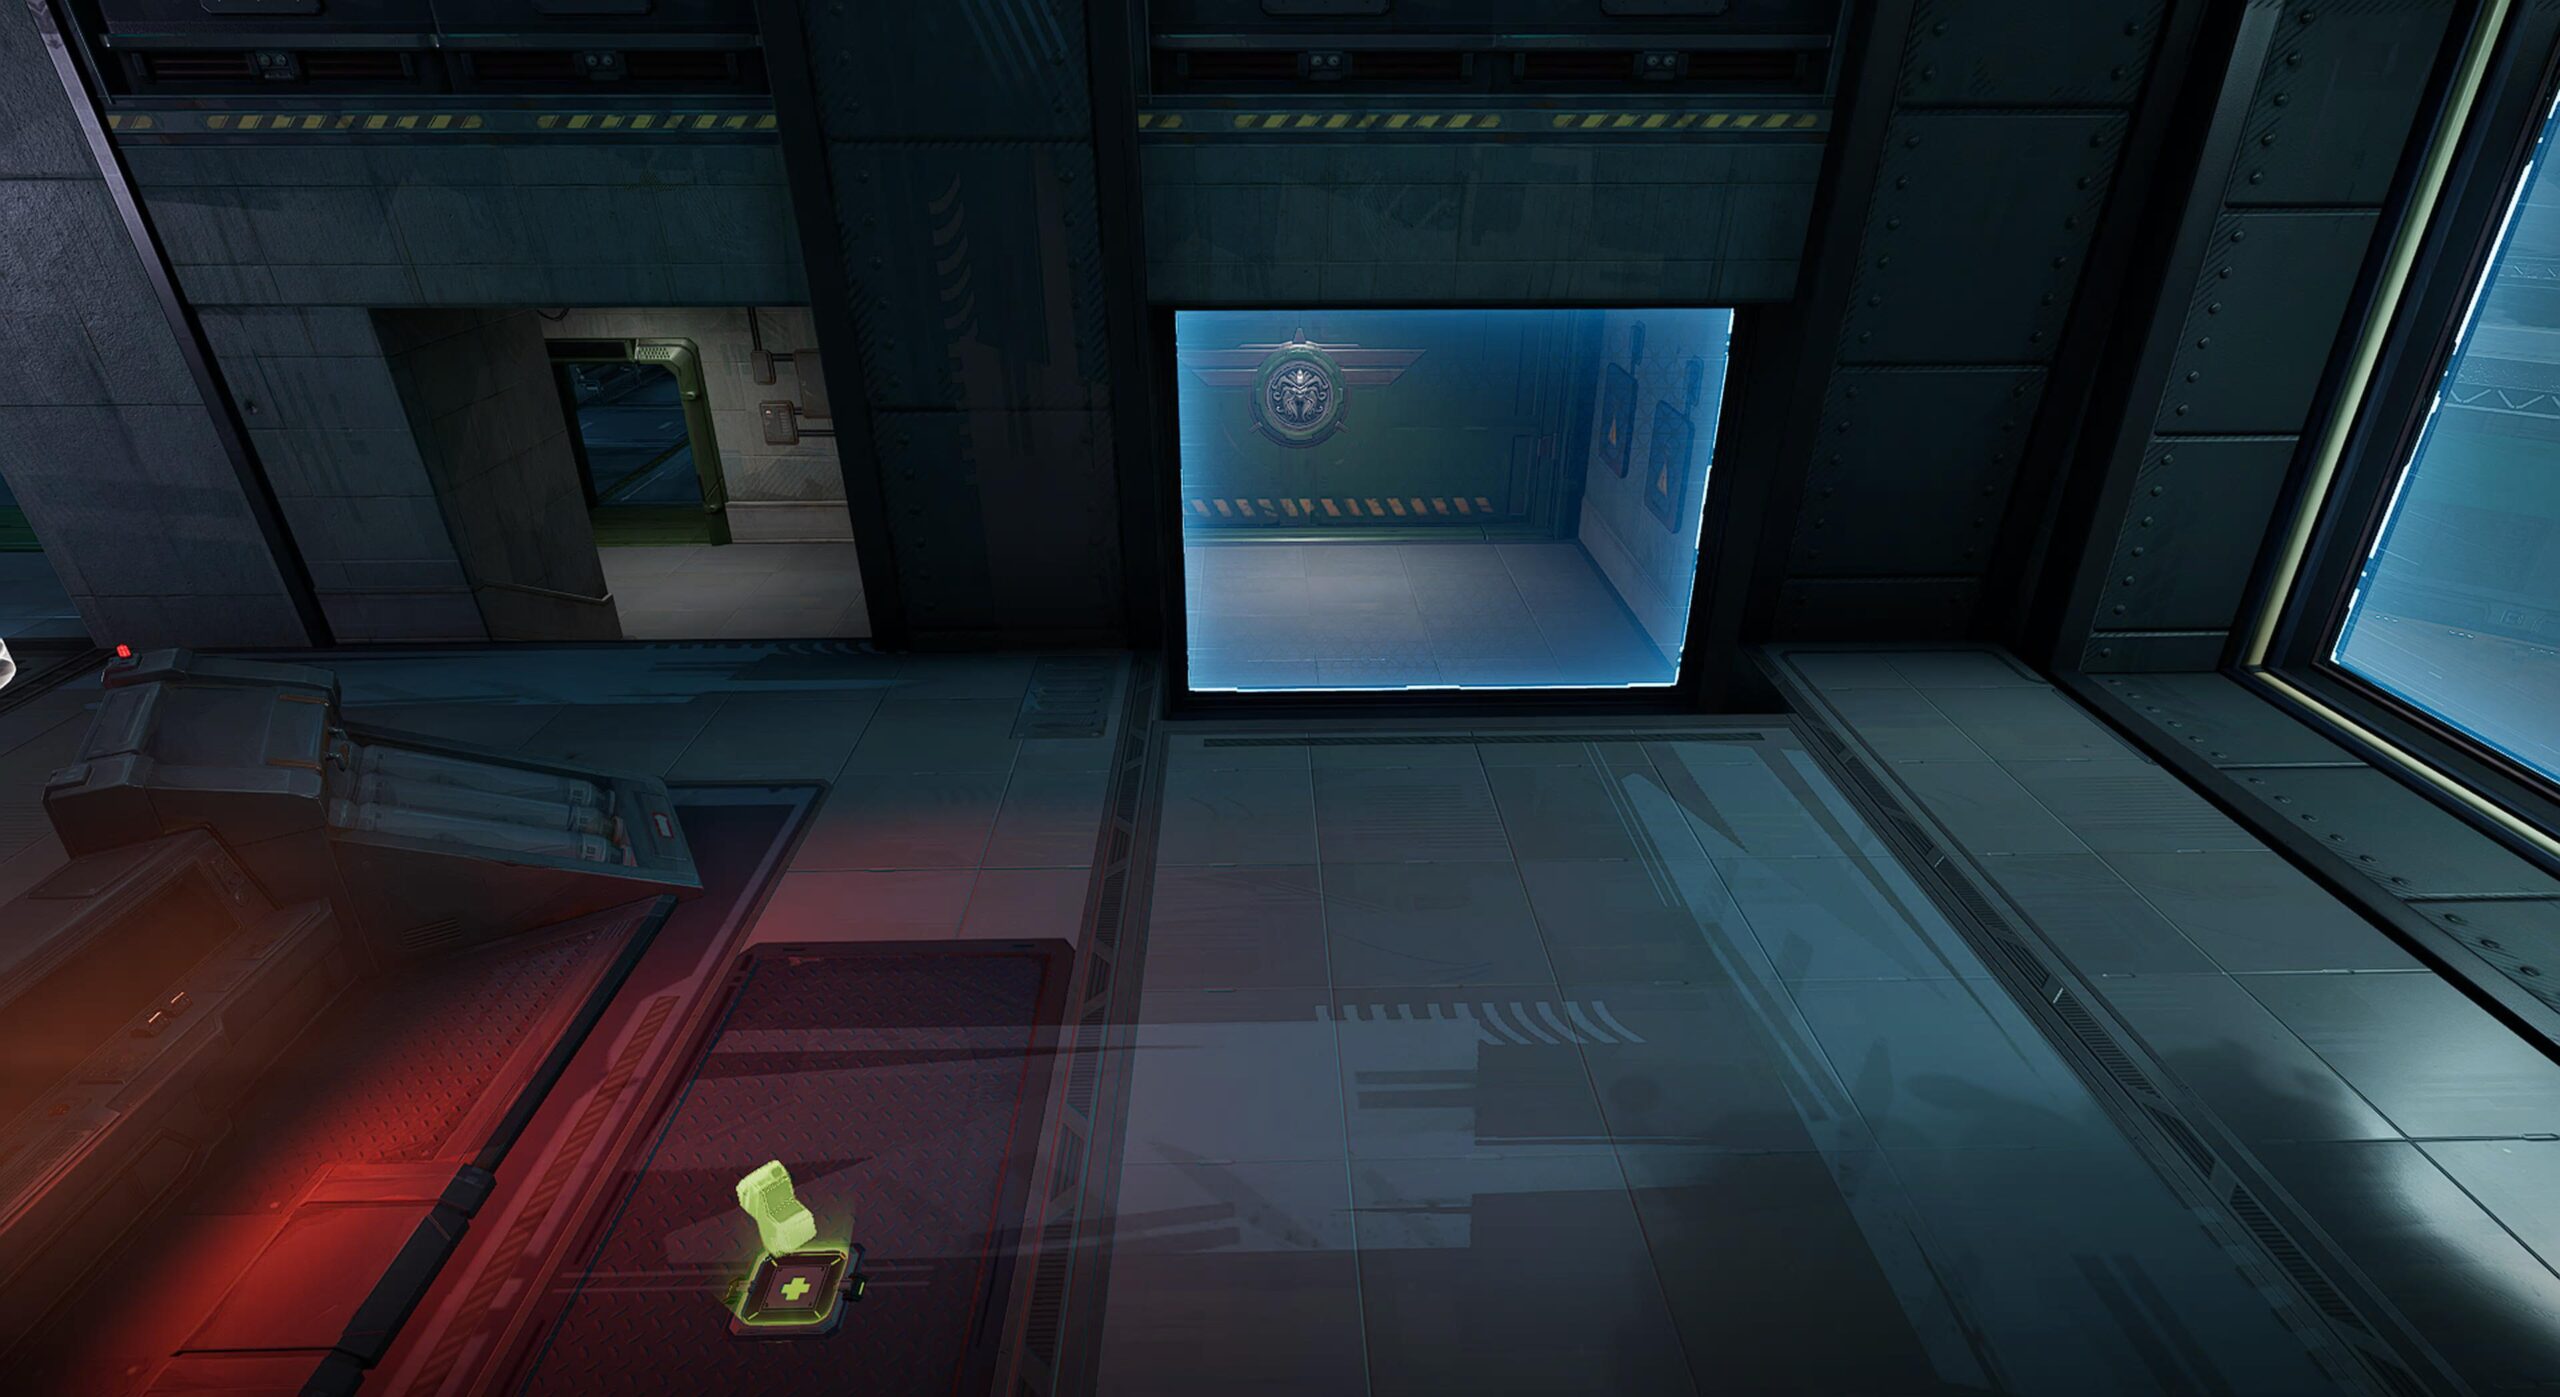
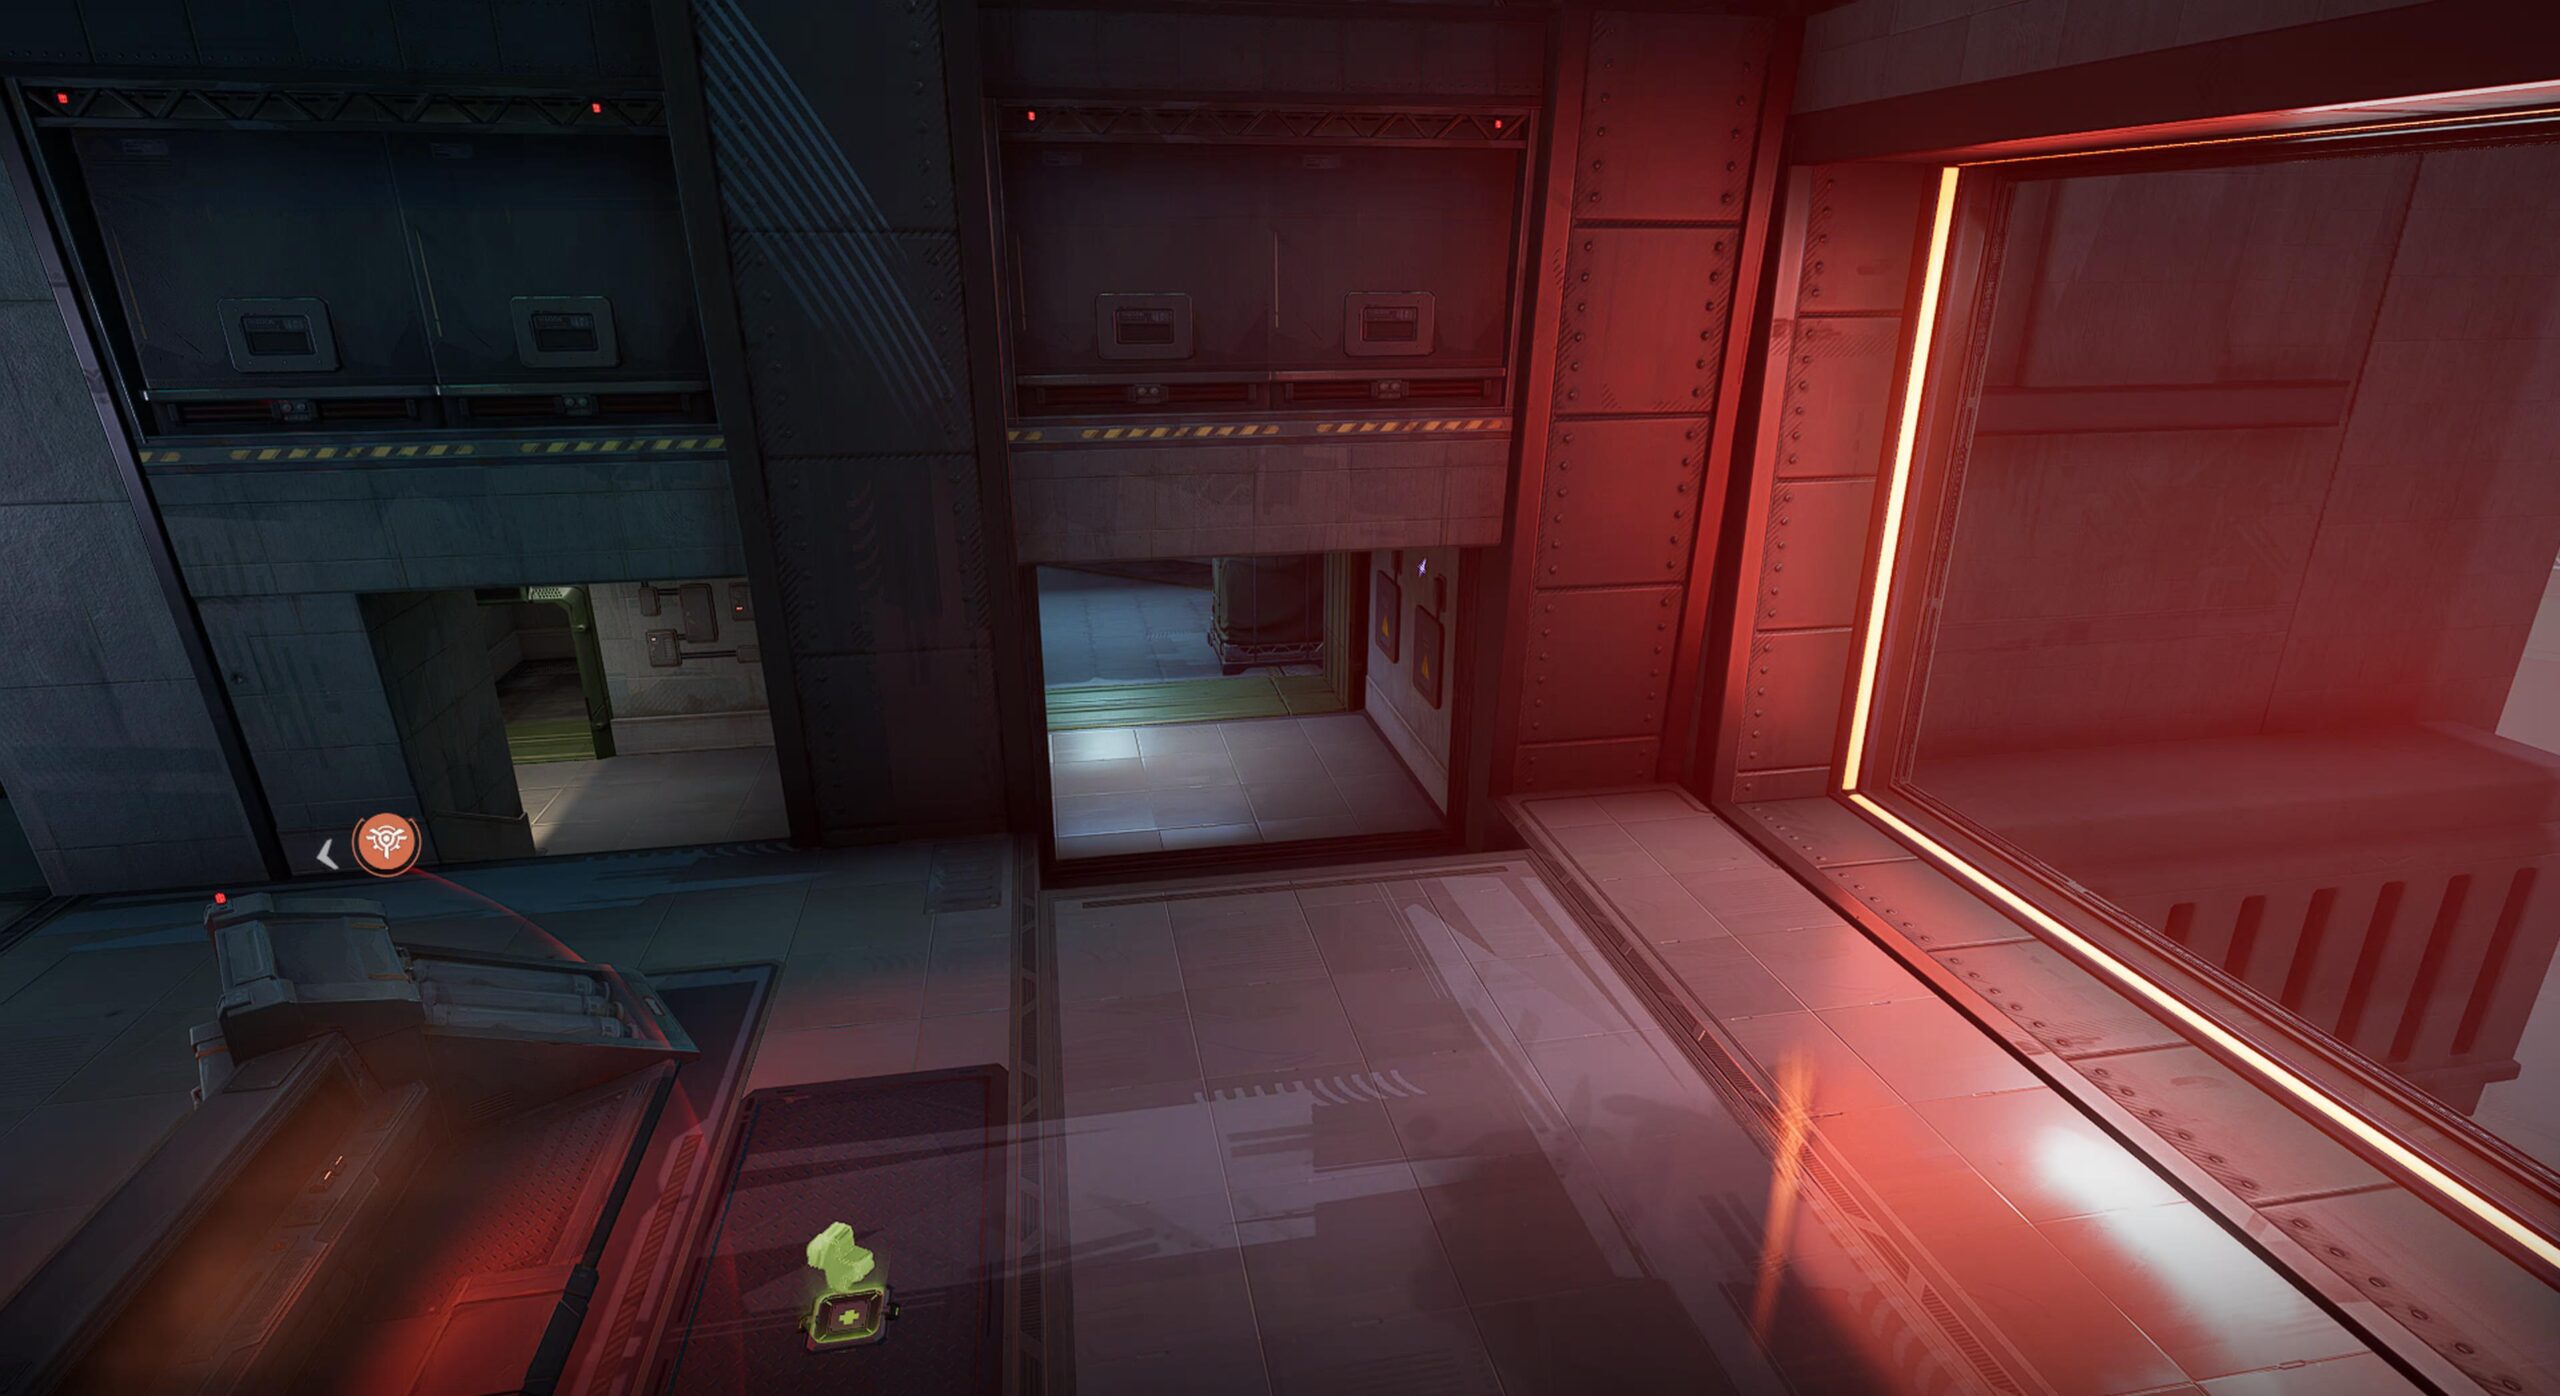
Map 2: Frozen Airfield
This is the spawn point of this map. From here, you have a number of routes avalible:
- Blue: This is the basic route most players take by default.
- Red: The top route of the map that takes the high ground to approach the objective from an elevated position.
- Yellow: Similar to the previous route, but it stays on the ground level.
- Green: While not pictured in this image, this route gives you access to the center flank.
- Teal: This isn't really a path, but more of an alternate door to get to the main path.
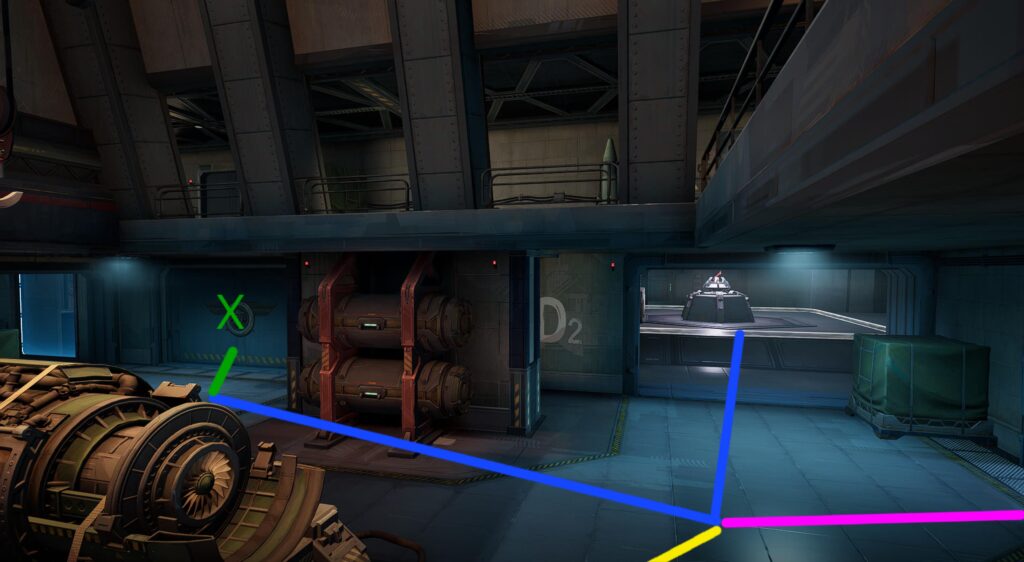
Speaking of the green route, the X shows a breakable wall that gives you access into the center flank. Most players use this as the primary mixup route to the main path.
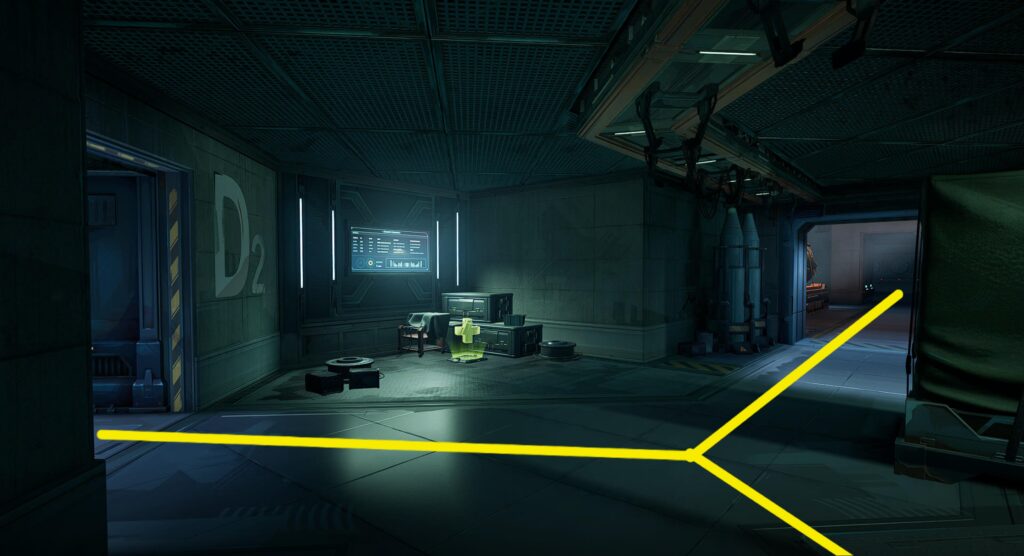
Moving back to the spawn, the yellow route will take you to this room. Here cuts into the back rooms to this health pack and an alternate way into the neighboring room. There is a small jump pad on the right path that takes you upstairs to the red route.
This is at the top of that jump pad. Here you will find another health pack and some mixup routes to take with the red route.
Here is a aerial view of the connecting room. The red route has a ramp that leads back to the bottom floor, as well as access to the upper area of the objective room.
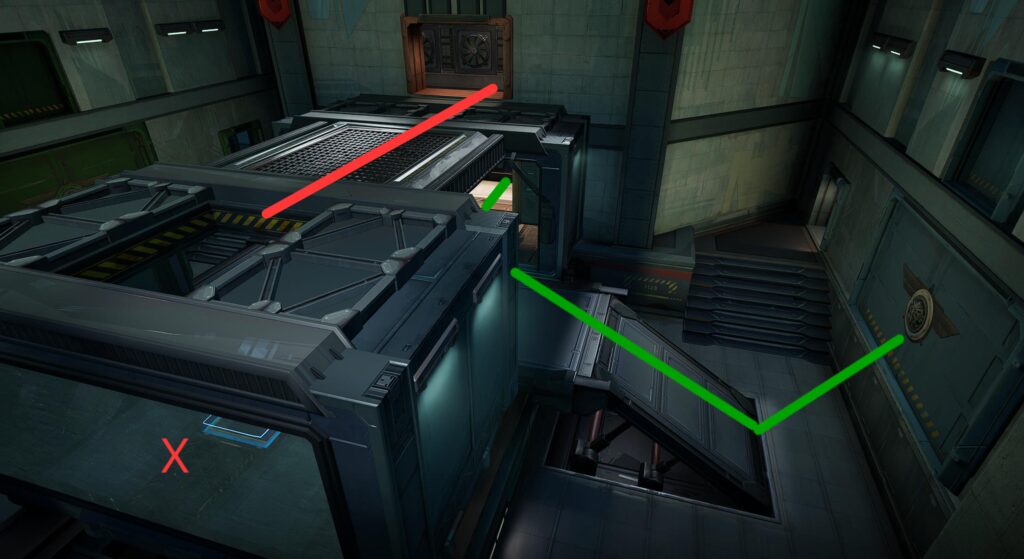
If you break down that X wall, it brings you to this central room with the green route. Here you can move to the center flank of the objective. You can also use the X for a jump pad that takes you up to the 2nd floor red route.
PoloAs you can see, there green route moves to this central flank to push the objective.
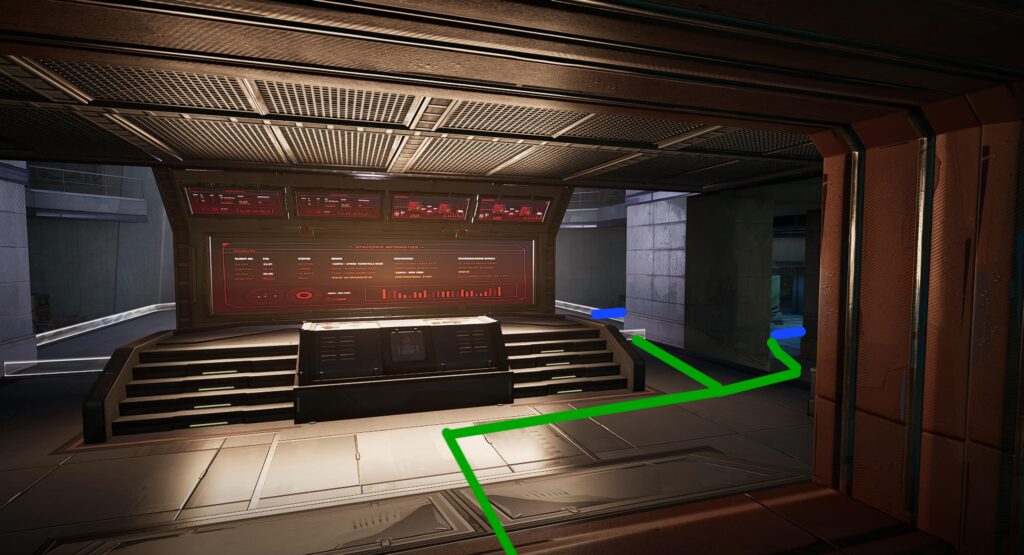
This map has a transformation that slides the objective down the map, into the central flank room. These images show you a before and after of that transformation.
Once the map shifts, that blue barrier breaks down, revealing a new doorway you can use. It follows the yellow route if you want to utilize it.
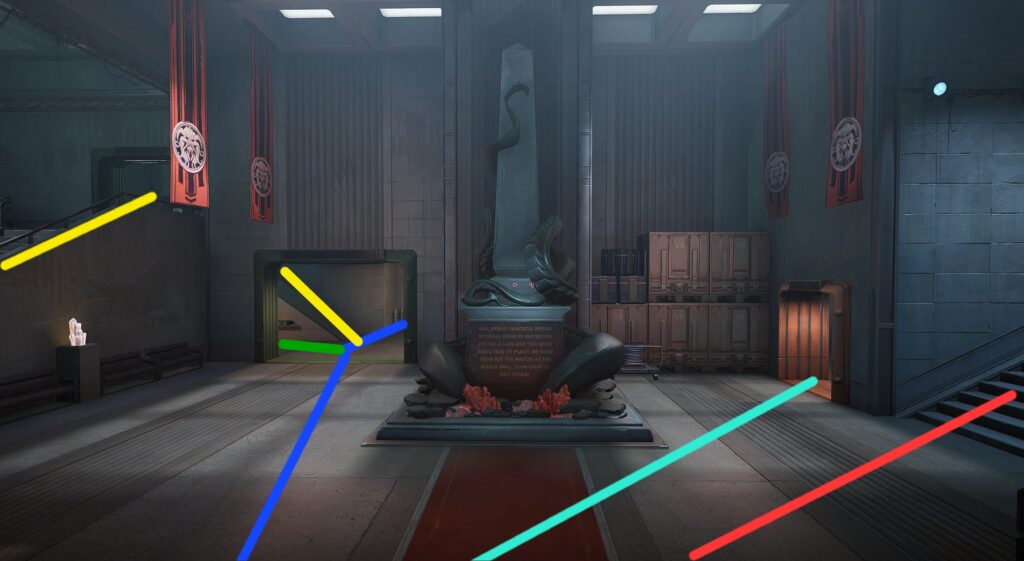
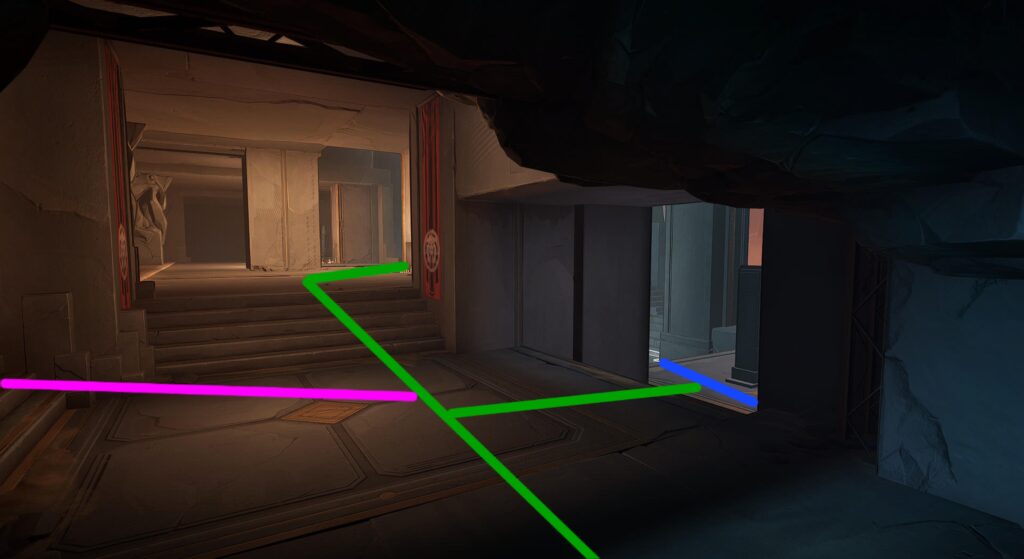
Map 3: Eldritch Monument
For the final map, this area focuses on more vertical gameplay than the other maps.
- Blue: This is the basic route most players take by default.
- Pink: The top route of the map that takes the high ground to approach the objective from an elevated position.
- Yellow: branching off other existing routes as a mixup option.
- Green: This cuts above the objective into the upper structure. It also gives you access to the pink route.
- Teal: For a bottom flank, this route makes an extended detour to push the objective. You can also use it to make a full flank around behind your opponent.
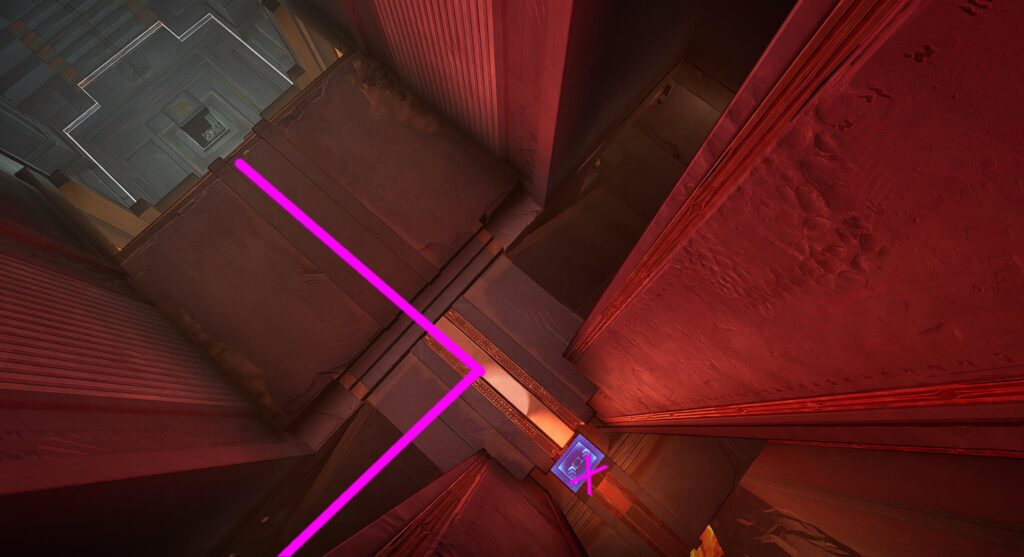
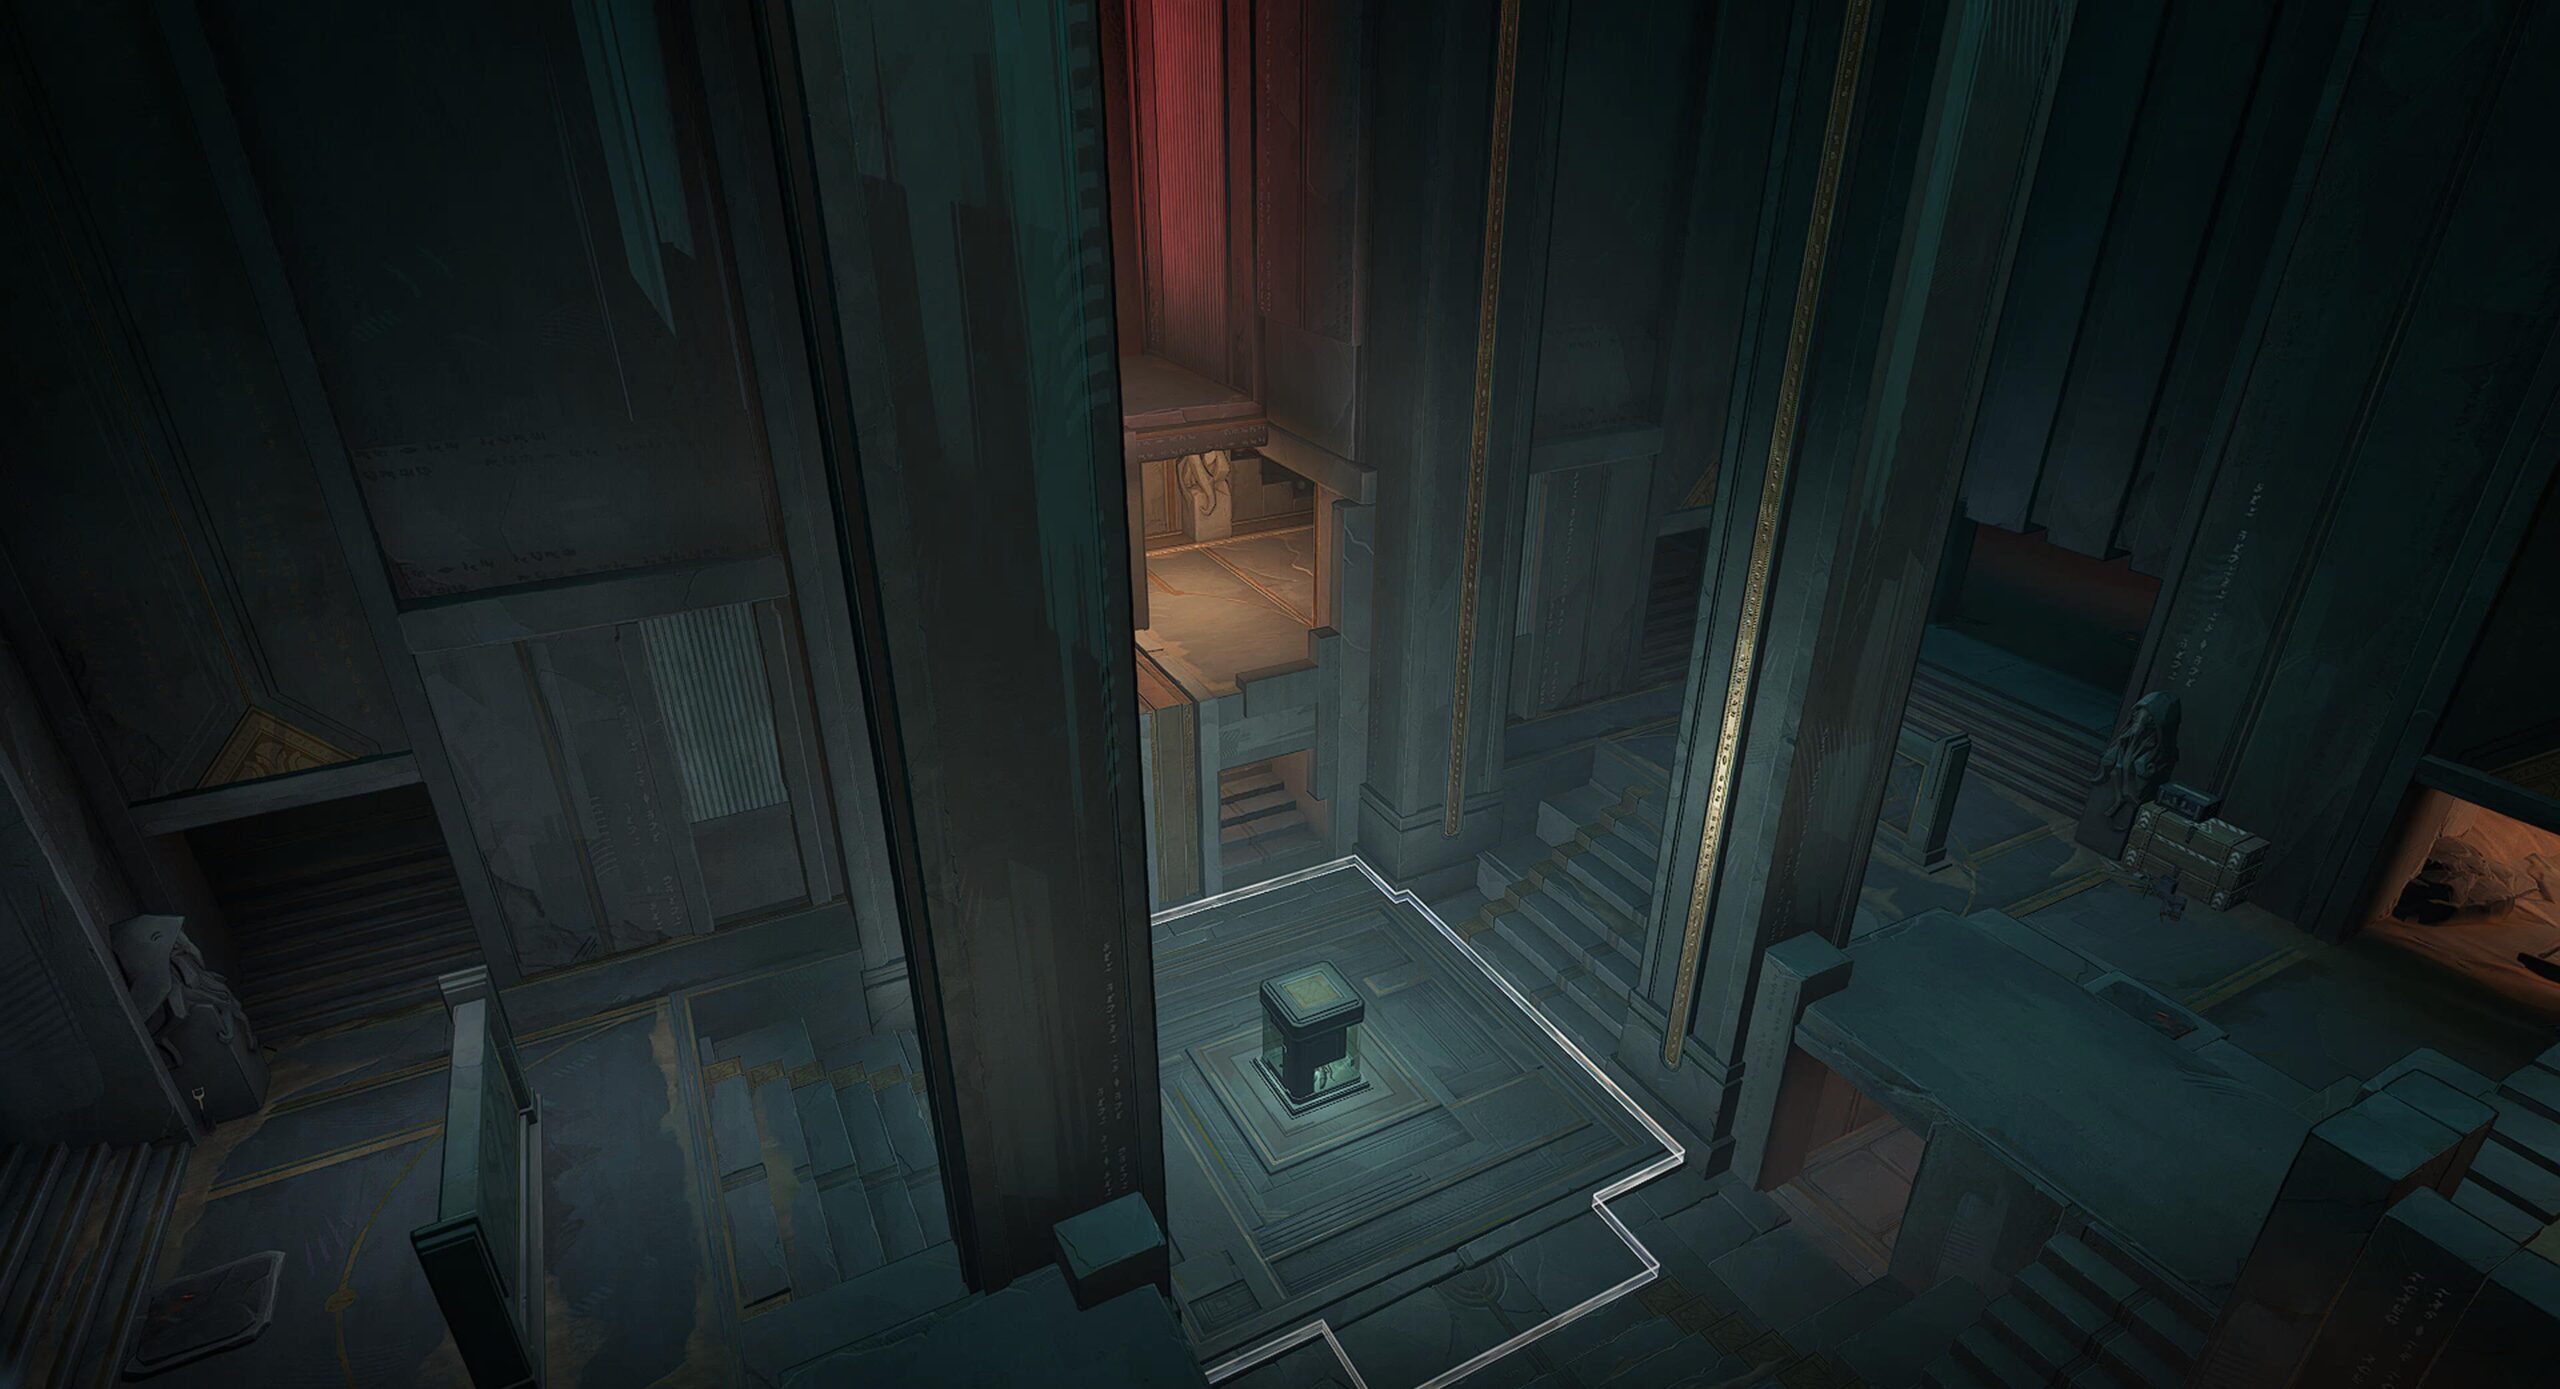
This is at the spawn area, giving you 3 ways to approach the objective. The red path isn't usable by any character. You have to fly across a pit into that small opening, which brings you to an area above the objective. The X highlights the opening you have to enter. The X is a doorway you can use to get back to the objective without circling around.
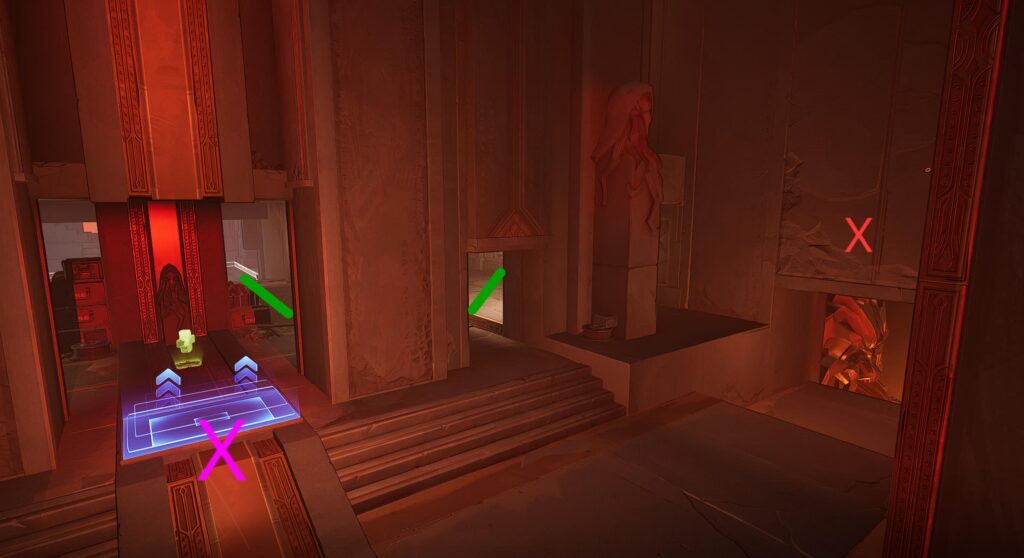
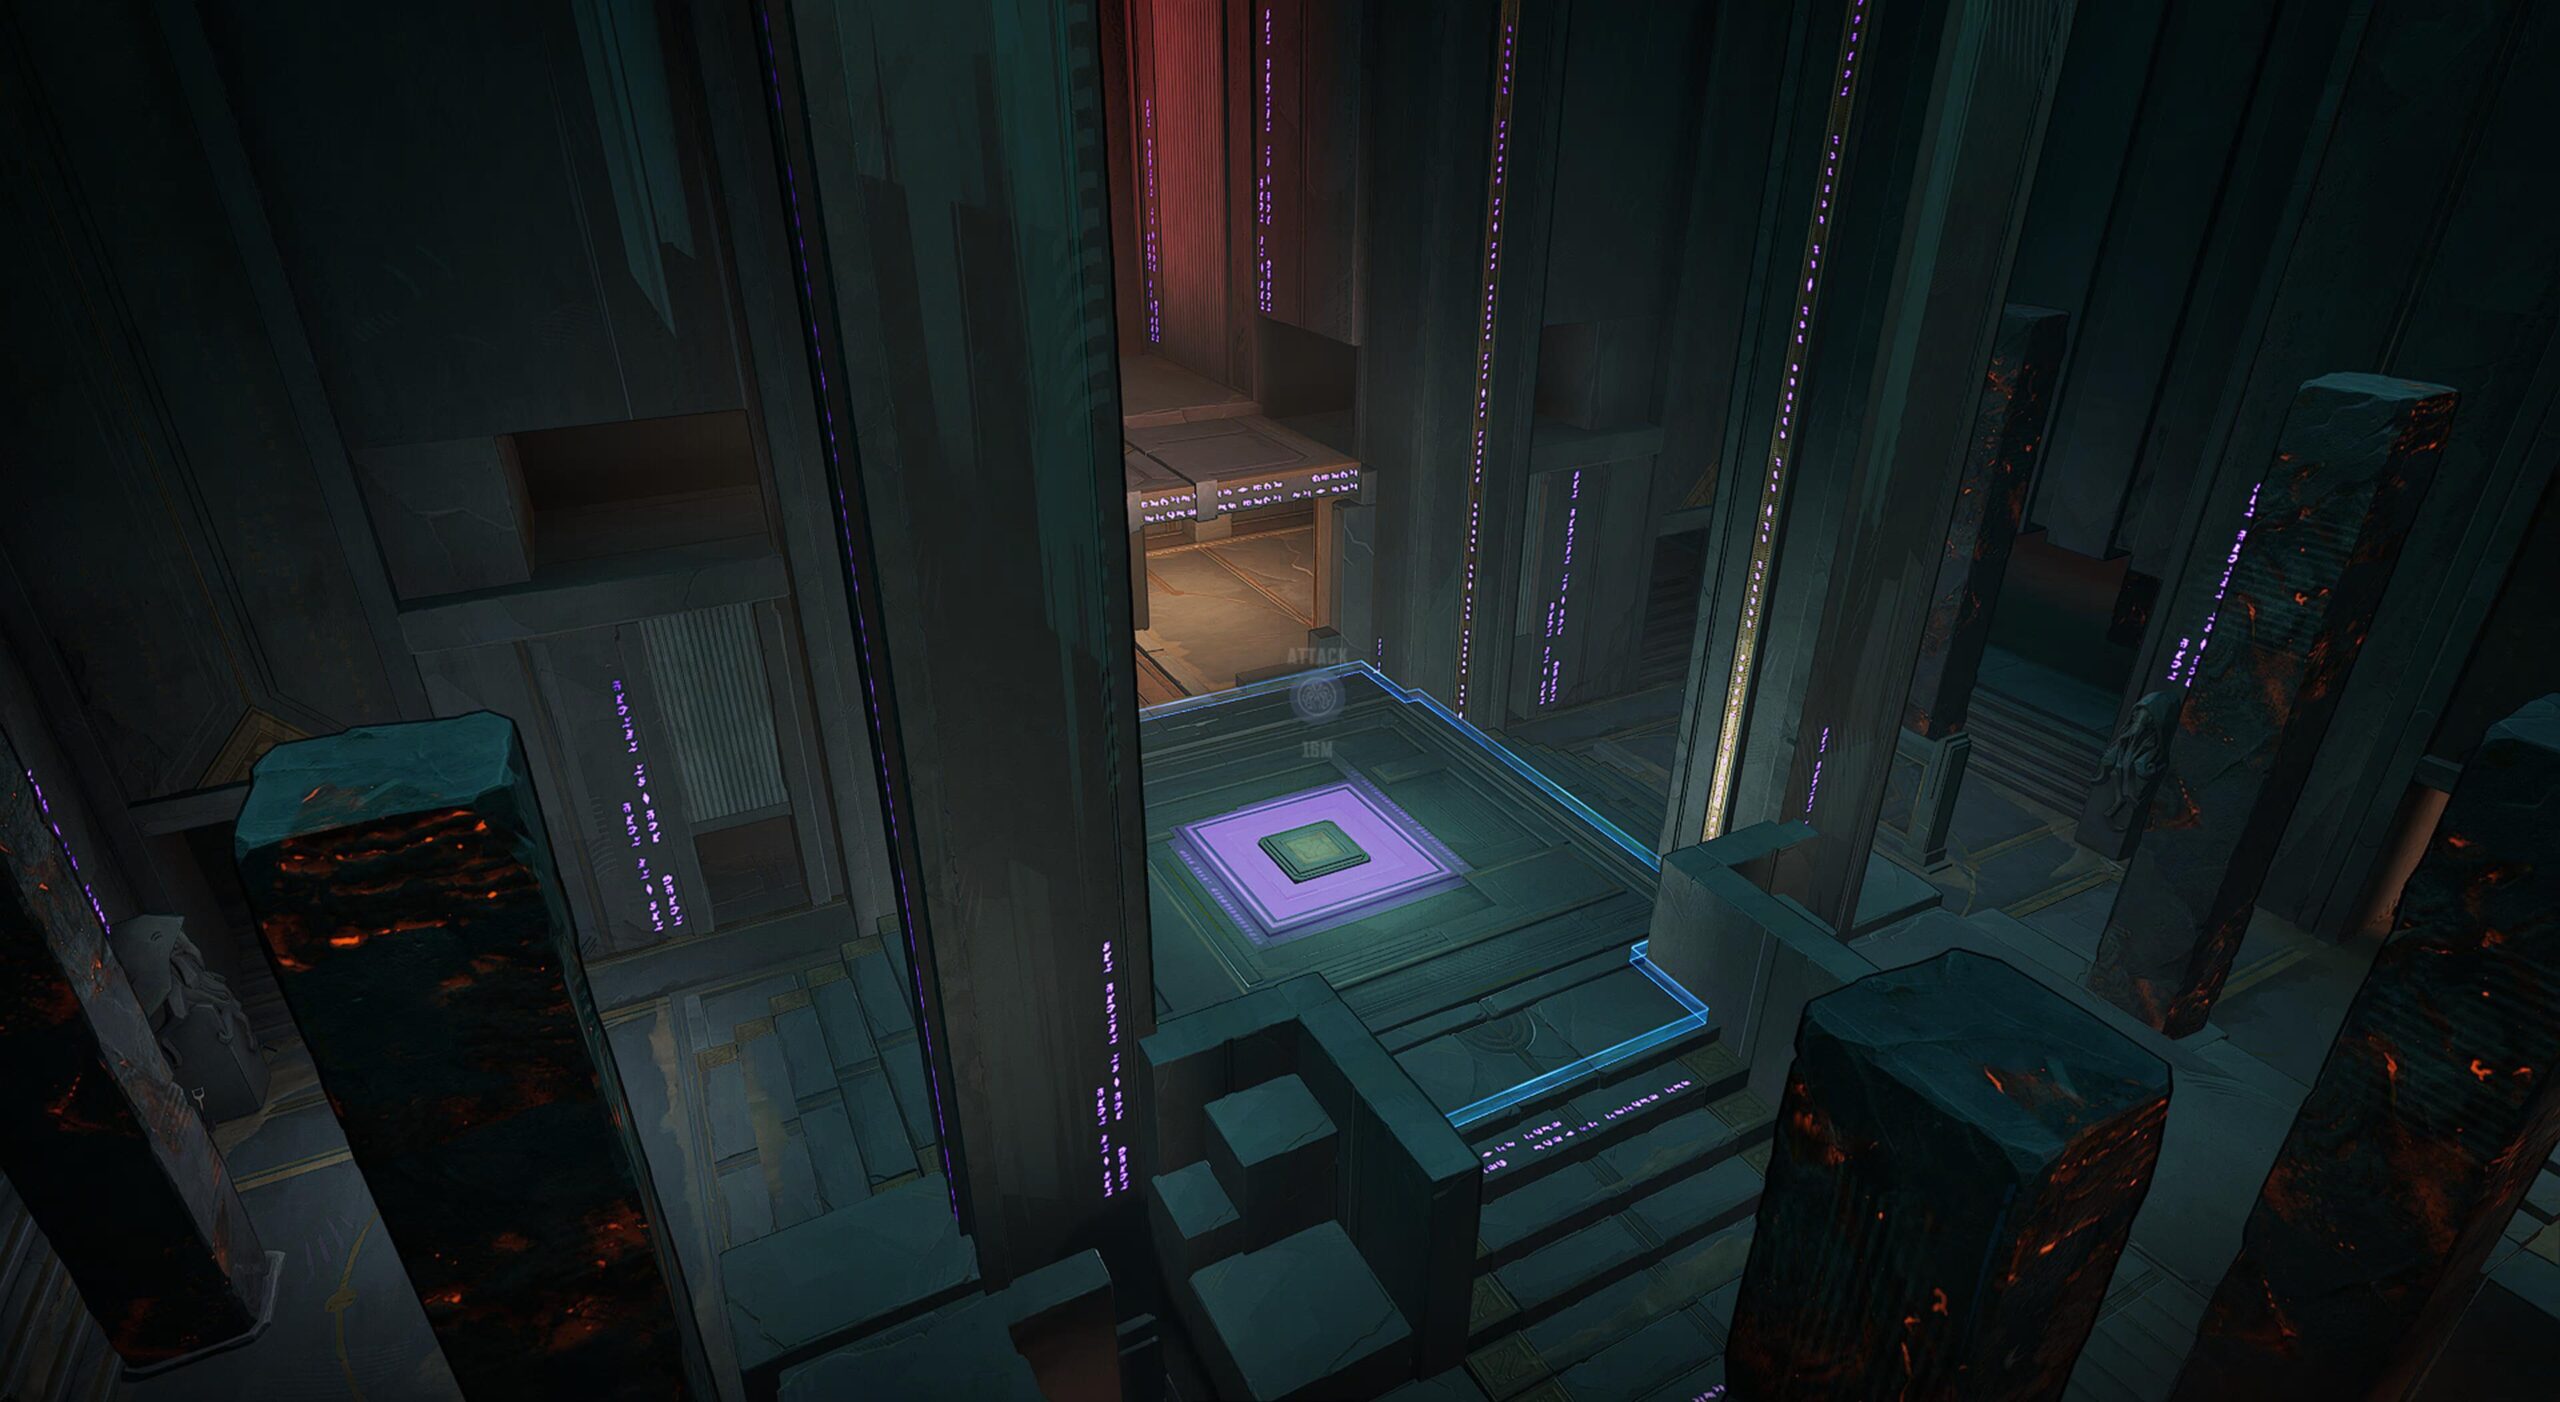
Here is the other side of that X wall. As you can see, it gives you both access to the green route, and a jump pad that moves to pink.
If you use that X jump pad, it brings you to this upper balcony. It has a ramp that leads the route back to the green route.
If you follow that pink route, here is where it connects with green, and how it connects to the objective.
This map also has a transformation, but it swaps multiple times. When the objective first raises up, these pillars also appear. They won't move back down with the objective, so they make for a nice vantage points for characters who can climb it. A helpful note is when the objective is rising up, Cloak and Dagger's ultimate will stop working. It doesn't rise and fall with the map, so you can use this knowledge to pressure opponents who think they are safe in her ultimate.