Table of Contents
The Museum of Contemplation is a new, vibrant Convoy map introduced in Marvel Rivals Season 6. This map takes you to the famous Collector's Museum, where you can find so many easter egg characters confined in showcases.
Map Type: Convoy
Museum of Contemplation is a Convoy map, where the attacking team needs to escort the payload to the finish line, while the defending team prevents them from doing so.
Map Layout
The Museum of Contemplation is a large map that combines open areas with small rooms and alleyways. Almost every part of the map features elevated positions and multiple doors for repositioning, making it a paradise for both flankers and long-ranged heroes.
Let’s take a look at the map’s layout from the starting area to the finish line.
First Checkpoint
Right from the start of the escort path, battles tend to be chaotic because of the many route options available.
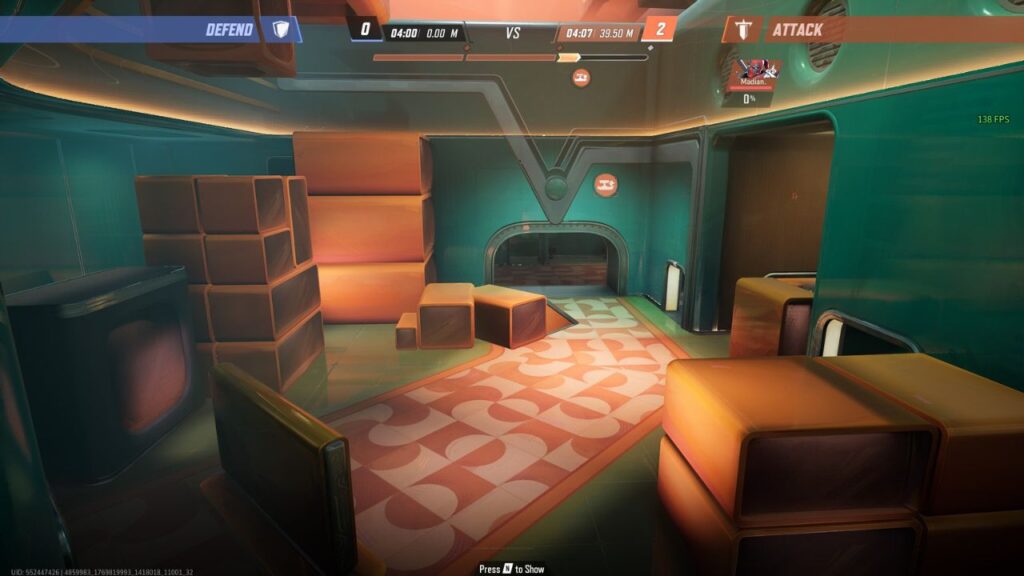
The first room contains several unused cages that can be used as cover. The first choke point is located immediately in front of the spawn, where a large door leads into a wider area. Defenders will most likely try to stop attackers at this initial choke point.
Attacking flankers with high mobility have the option to take the right-side doorway to circle around and attempt to ambush the defenders from behind.
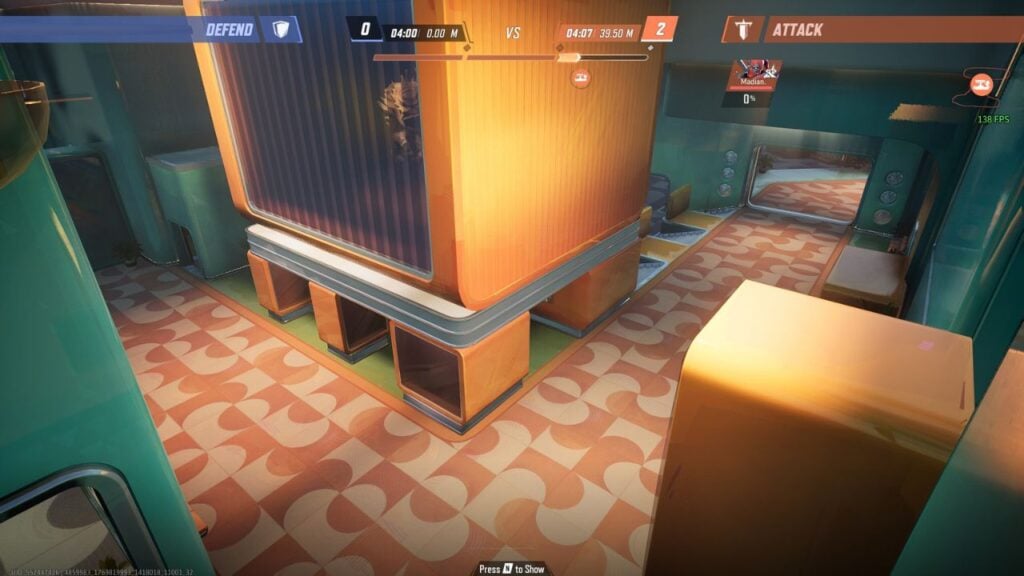
However, the pressure doesn’t end there. After the first choke point, the path leads into a zigzag corridor that serves as the second choke point, featuring tight alleyways. Peni Parker can defend this area effectively with her Arachno-mines.
Just like the first section, this spot also offers multiple routes for attacking flankers to break through and approach from the rear.
Close-ranged heroes thrive during the first checkpoint. Characters such as Magik, Deadpool, Blade, and Black Panther can really shine in these tight engagements.
Second Checkpoint
Very much like the first checkpoint area, the path to the second checkpoint features many rooms and side routes that allow flankers to move around freely.
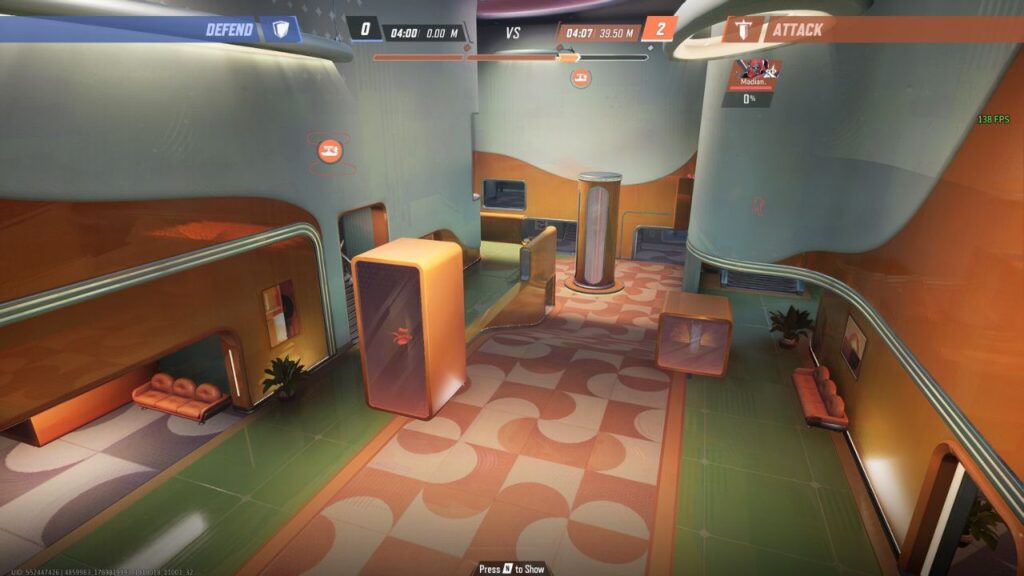
Once again, mid- to close-ranged heroes still thrive in this part of the map. Black Panther, in particular, is extremely deadly here thanks to the narrow pathways that perfectly suit his playstyle. Long-ranged heroes also have the option to engage from the elevated platforms, using the walls for cover.

As a defender, don’t sleep on the side path with the bridge, since many flankers will try to attack from that direction. If the defending team can secure this area, which overlooks most of the entry points, the attackers will have a much harder time pushing through the choke point.
Burst heroes such as Squirrel Girl, Winter Soldier, The Punisher, Moon Knight, and Phoenix are great choices for defending this section.
You can also unlock the "Secret Stash" achievement in this area by inspecting the cage located directly in front of the checkpoint entrance.
Exterior to Finish Line
After passing through the second checkpoint, the fight shifts into a much more open exterior area. It’s best to adapt here and switch to heroes with stronger range and better long-distance presence.
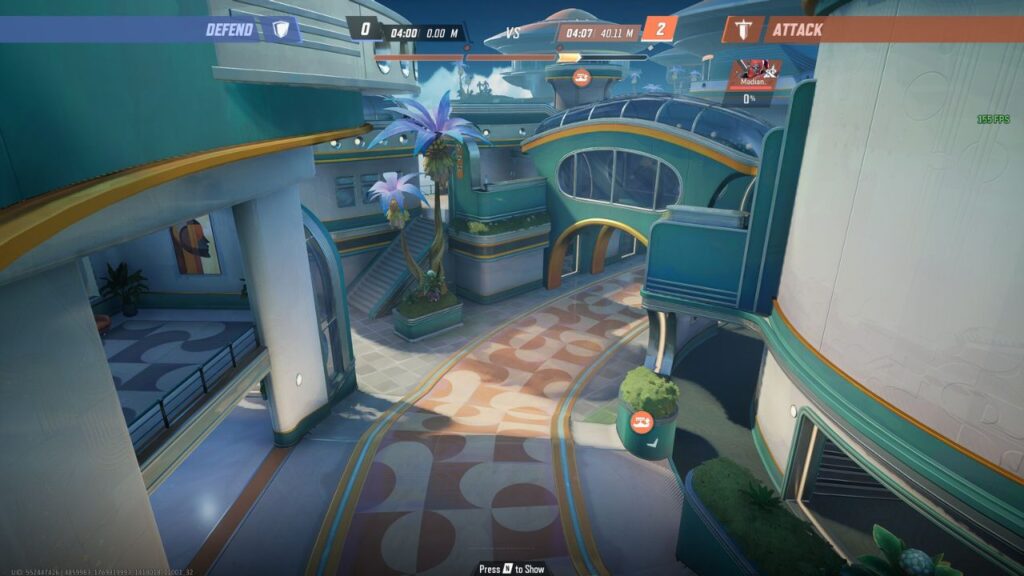
This final section features an outdoor pathway with bridges and elevated buildings along the sides. One side of the area is bordered by a cliff, creating opportunities to knock or throw enemies off the map.
Because of the wide-open layout, flying heroes and long-ranged heroes thrive in this stage. Characters such as Iron Man, Hela, Angela, Human Torch, Winter Soldier, Phoenix, The Punisher, Deadpool, Hawkeye, and Ultron can truly dominate this part of the map.
The bridges provide excellent vantage points for both attackers and defenders, so controlling them is crucial.
Again, high-mobility heroes can turn this area into their playground. With so much verticality and plenty of rooms to juke enemies, Black Panther truly shines in this map.

The payload route is mostly a straight line with very few choke points, so expect full-on, head-to-head team clashes all the way to the finish line. Ultimately, the team with the stronger composition, better combos (and sharper individual skills, of course), will have the advantage in this final stretch.
Best Heroes to Use
Here are the best heroes to use depending on the area:
First Checkpoint
Second Checkpoint
Exterior to Finish Line
That’s everything you need to know about the Museum of Contemplation in Marvel Rivals! With a strong understanding of the map layout and which heroes thrive in each section, it becomes much easier to control fights and dominate matches on this map.