Table of Contents
Dracula is the final boss in Marvel Rivals Blood Hunt, and he wipes out most teams on their first few tries. It's not because he's impossible, it's because most players go in swinging without understanding how the fight actually works. Once you know the mechanics, it becomes a lot more manageable. Here's exactly what you need to do.
How to Beat Dracula in Blood Hunt Marvel Rivals
Here's the big secret: damage in the early phases doesn't really matter.
Dracula fully heals himself when he reaches Phase 4. So if you spent the first three phases burning him down, that's all wasted effort. Your real job early on is just to stay alive, do the mini-games and reach the last phase without losing your revives.
Everything clicks once you understand this.
Phase-by-Phase Breakdown

Phase 1 – Don't Feed Him
Every time someone on your team takes a hit, Dracula builds up healing stacks. Enough stacks, and he converts them into a massive heal. So dodge everything. Seriously, just dodge. You're not here to deal damage yet, you're here to stop him from getting stronger.
In this phase, Dracula uses an ability that pulls all heroes toward him, followed by a devastating AoE attack that deals massive damage. As soon as you’re pulled in, use your mobility skill immediately to escape the AoE.
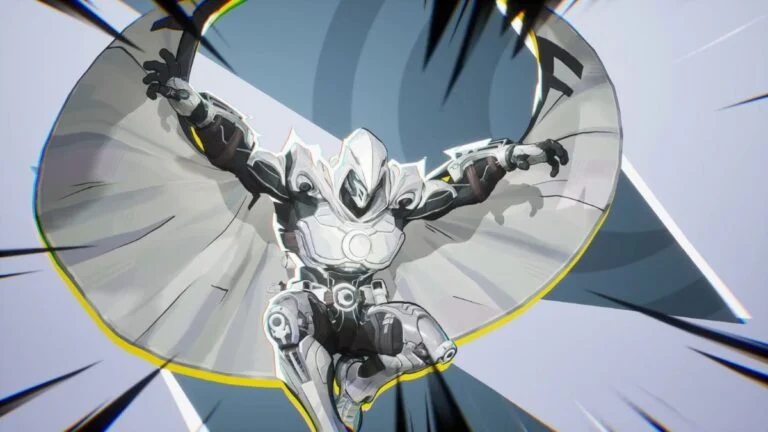
The best way to approach this is by using ranged heroes, which is why Squirrel Girl and Moon Knight stand out as best heroes for this mode. Not only do they offer excellent mobility at higher levels, but they also deal massive burst damage.
Phase 2 – Stay Mobile
Things ramp up here. Dracula hits harder, a floating sword joins the fight, and you'll start seeing blood storms and teleport grabs. Getting caught by one of those grabs is usually what starts a team wipe. Keep your distance, keep moving, and don't let him corner you.
Phase 3 – Survive the Chaos
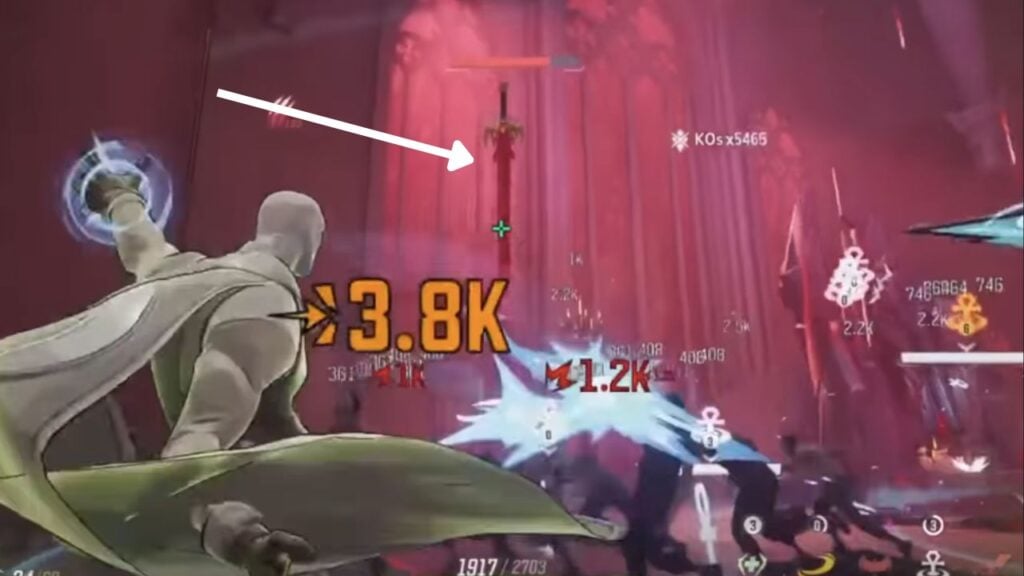
Dracula disappears completely. You can't even target him. Instead, floating swords pop up all over the arena, and enemies keep spawning in. Your only goals here are:
- Destroy every floating sword you see
- Stay alive
- Hold onto your revives, you'll need them soon
A lot of players panic here and burn revives trying to hold the team together. Don't. Save them for Phase 4.
Phase 4 – This Is Where You Actually Kill Him
Dracula comes back at full health. Don't be discouraged, this is the real fight, and this is where your damage actually matters.

When Phase 4 starts, sealed crystals spawn in front of the throne. Break them fast. Breaking the crystals activates sunlight zones, and those zones change everything:
- Inside the sunlight: you're invincible
- Inside the sunlight: Dracula is vulnerable and can be stunned
This is your window. Go in, stun him, dump your damage, then get out and repeat.
The loop:
- Break both crystals immediately
- Step into the sunlight zone
- Stun Dracula and deal as much damage as possible
- Exit, reset, repeat until he's dead
Stick to this, and the fight becomes way more controlled.
Common Mistakes That Get People Killed
- Trying to kill him in Phase 1, 2, or 3 — pointless, he heals it all back
- Ignoring the crystals in Phase 4 — you're throwing away your biggest advantage
- Taking too many hits early — feeds his healing stacks and makes the whole fight harder
- Burning revives before Phase 4 — leaves you with nothing when it counts
Final Thoughts
Dracula looks scary at first, but once you stop treating it like a regular damage race, it becomes a pretty satisfying fight. The whole thing comes down to patience early and fast execution in Phase 4. Survive, save your revives, break the crystals, and use the sunlight. Do that and you'll start clearing him consistently.
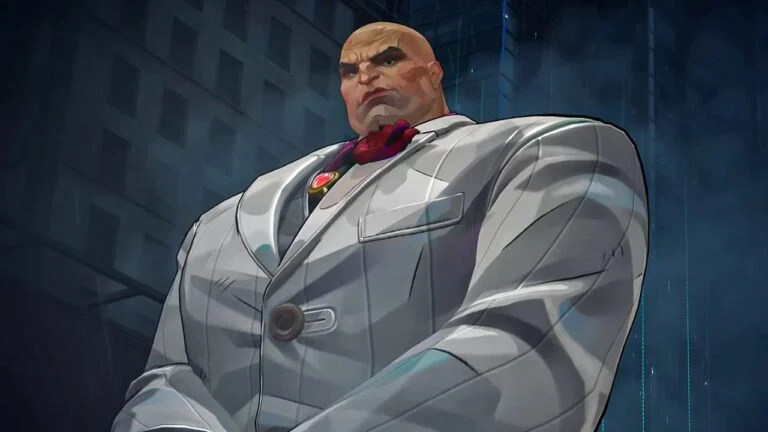
After defeating Dracula, if you completed the secret tasks in the previous phases, you will unlock Kingpin as a hidden boss, serving as the true ending for this mode.